Day 7
Alright, now we get started on some of the more complicated aspects that I havn't seen incorporated into any other Observation Hive. But hey, there has to be a first right? 8-)
From here, we want to finish working on the base of the project, namely the lazy susan part as well as the part that attaches to the bottom board (the rails that were "completed" on day 6).
In the past I've used circles for the lazy susan tops and bottoms, but this time I wanted to go with something a little different, so I decided to go with hexagons. I think it will add a bit of mystery and intrigue to the project. :mrgreen:
So, to start off, I know that I want my top hexagon to have a diameter equal to the rails that I previously constructed. Mainly because I don't want the rails to hang out, or to sink into the top hexagon. This means the top hexagon needs a diameter of 24 inches.
I want the bottom hexagon to be smaller than the top, so as not to attract attention. Also, if the top hexagon is as big as the top, you are just using wasted materials, and we all want to save on materials (as well as cost). So I decided the bottom hexagon is going to be 18 inches in diameter.
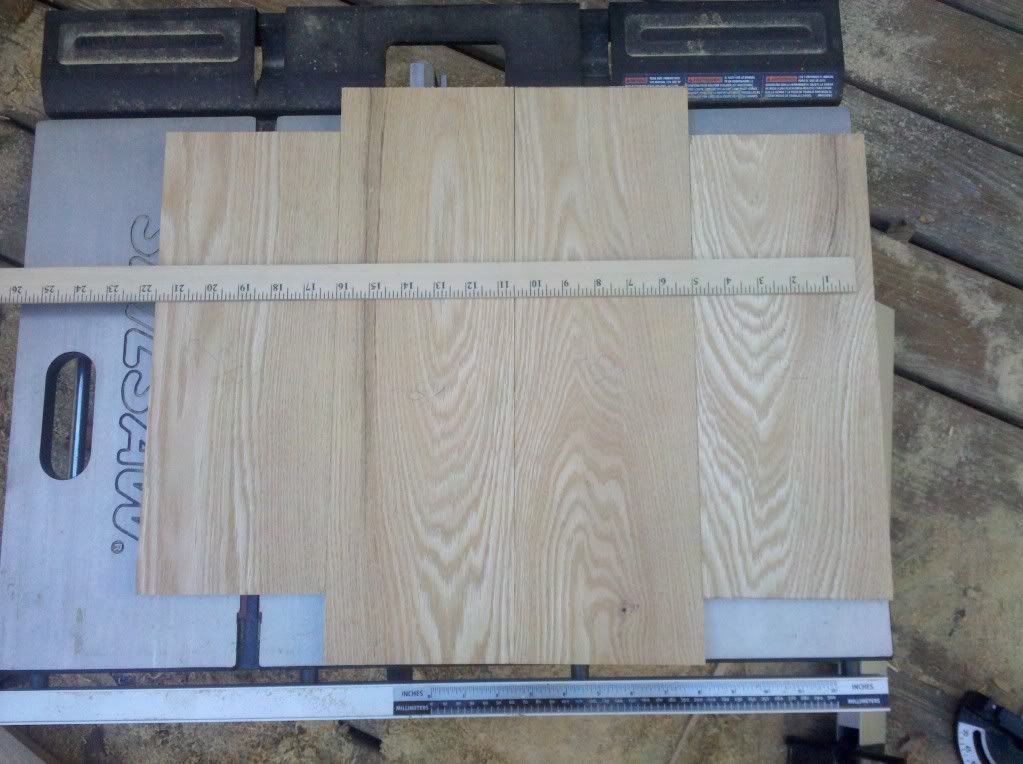
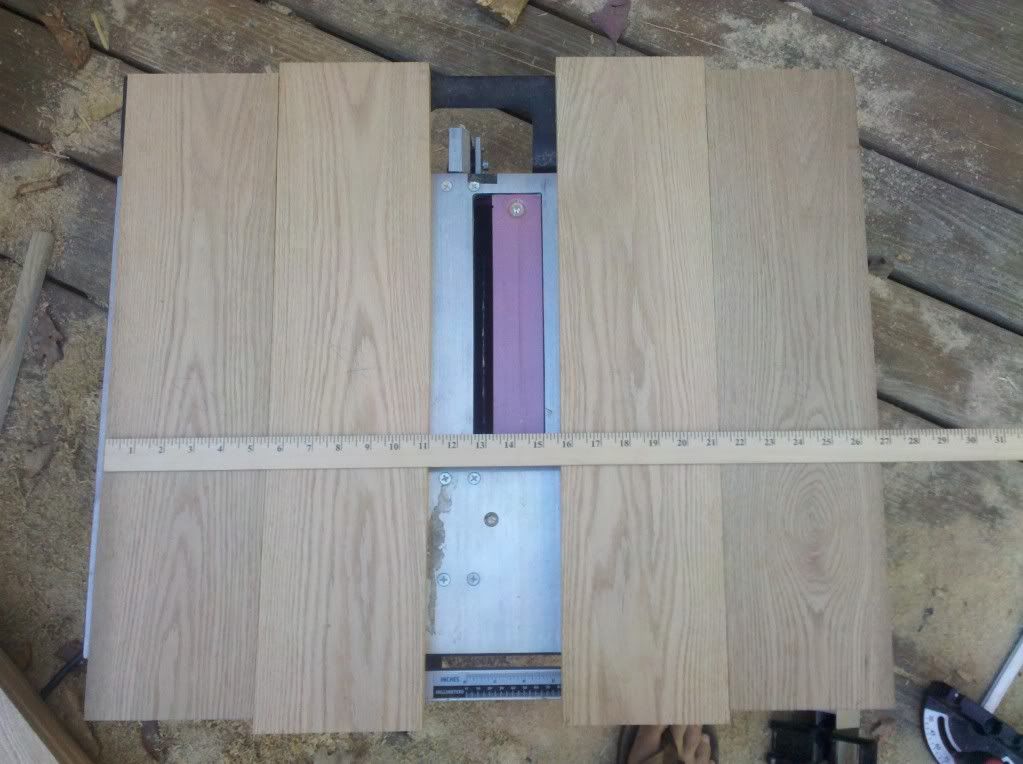
Using a little bit of math, I know that I can make an 18 inch diameter hexagon with four 1x6 boards. So I take those four boards, and I cut them so that two are 18 inches long, and two are 14.5 inches long (this is where the math came in, but just trust me for now).
This makes the height 18 inches, but the width is over 18 inches. Something we will correct later.
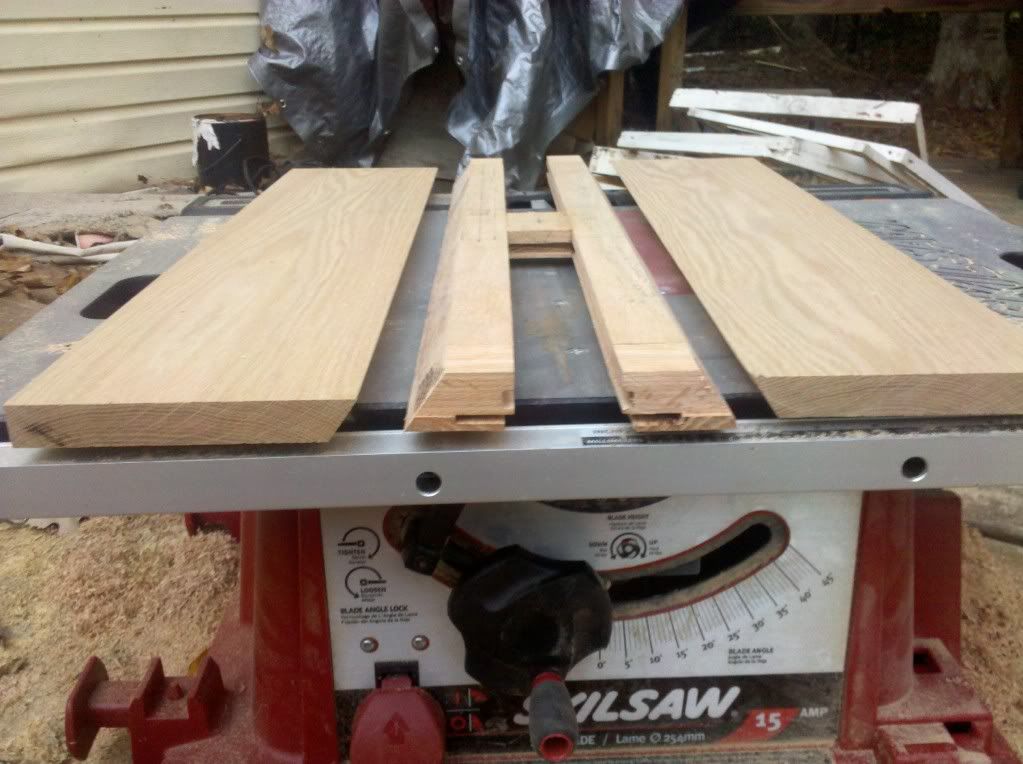
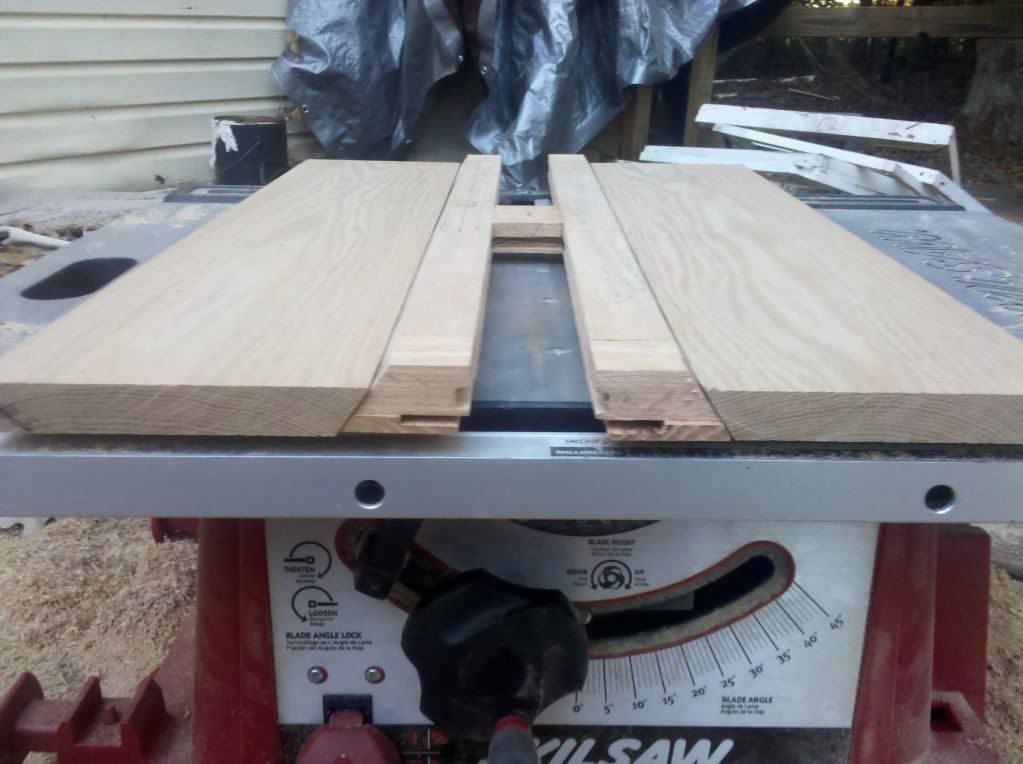
The top hexagon needs a diameter of 24 inches. Unlike the bottom hexagon, the top one will have a "gap" in the center, where the observation hive will slide in and out. Knowing that the width of the observation hive is 5.5 inches (the width of a 1x6 board), I know that four more boards will be needed to make up the 24 inch hexagon. Two of which need to be 24 inches long, and the other two need to be 23 inches long.
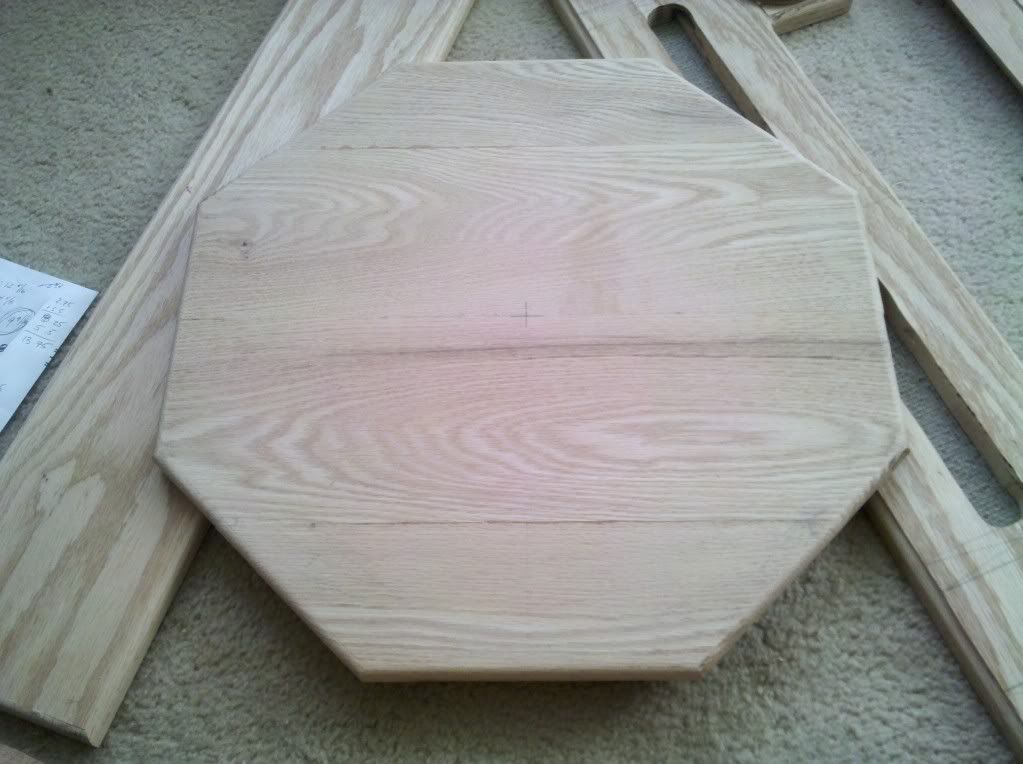
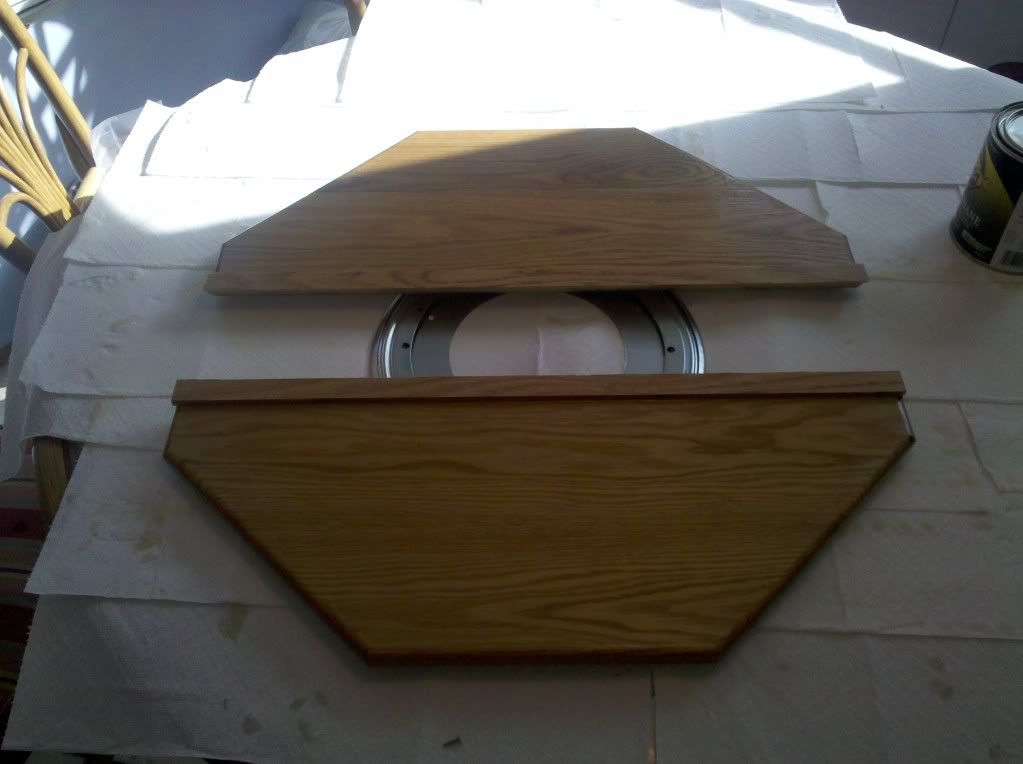
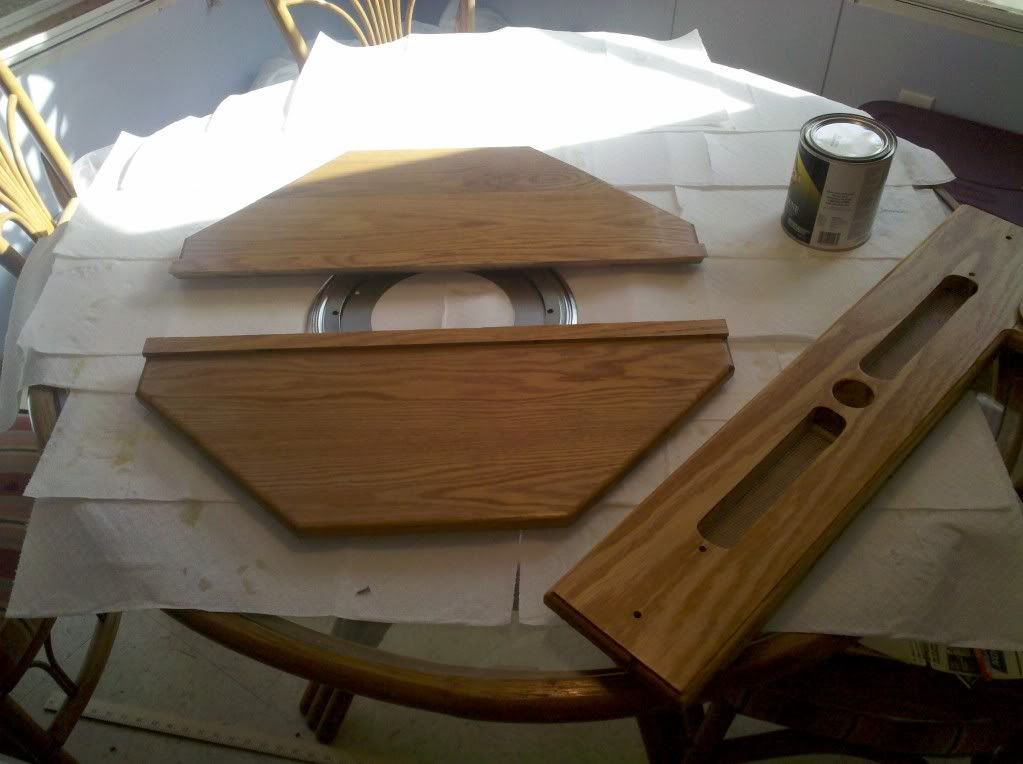
Having cut the boards for the top and bottom hexagon, I went ahead and worked on the bottom hexagon. I glued all four boards together, then set the table saw to cut on a 45 degree angle. Drawing the hexagon on the board, I knew exactly where to cut. Having made the cuts to reduce the hexagon to a 18 inch diameter on all sides, I routed the edges of the top and bottom, to make a board that looks like this:
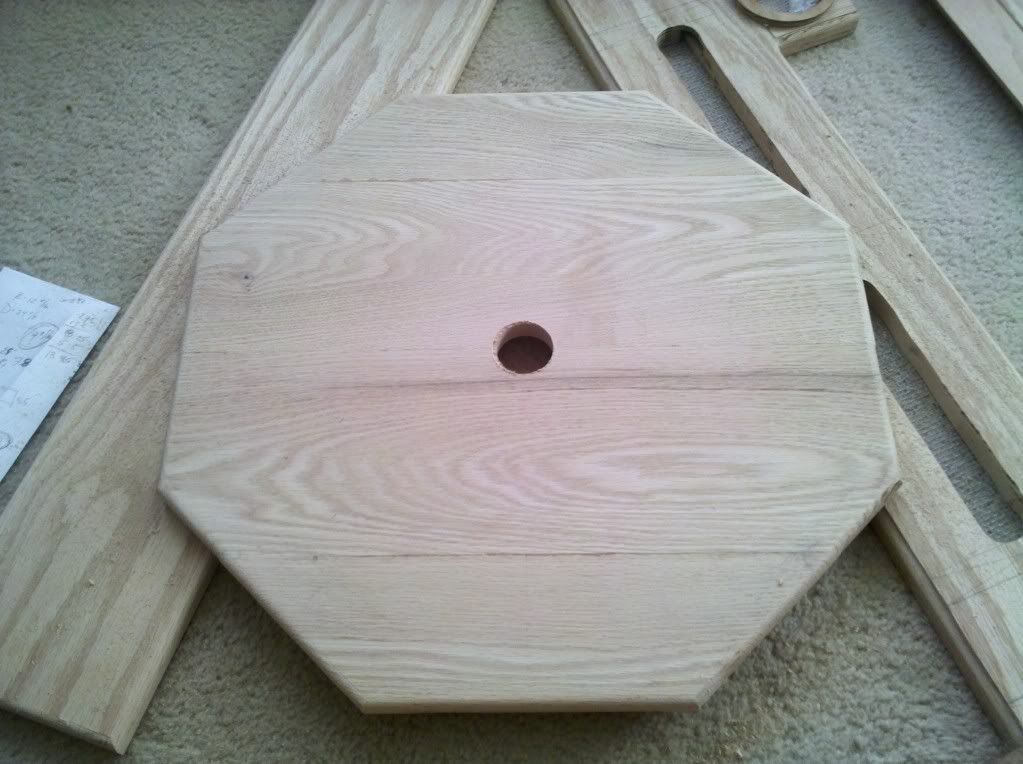
and then I drilled a 1.5" hole in the center of it.
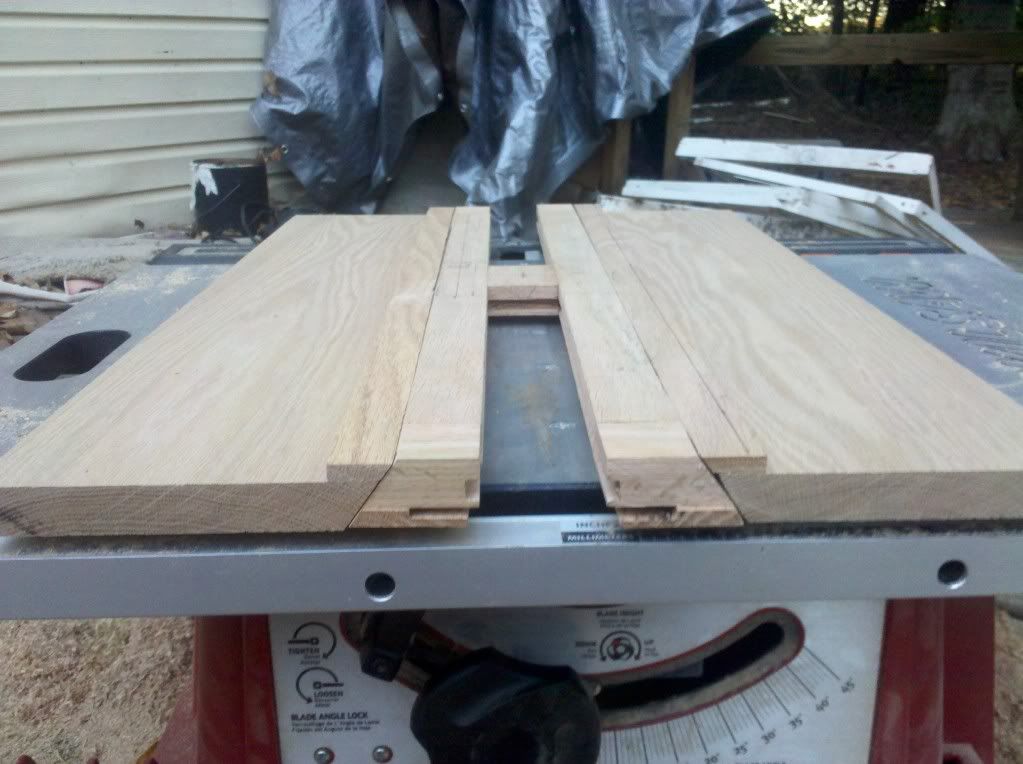
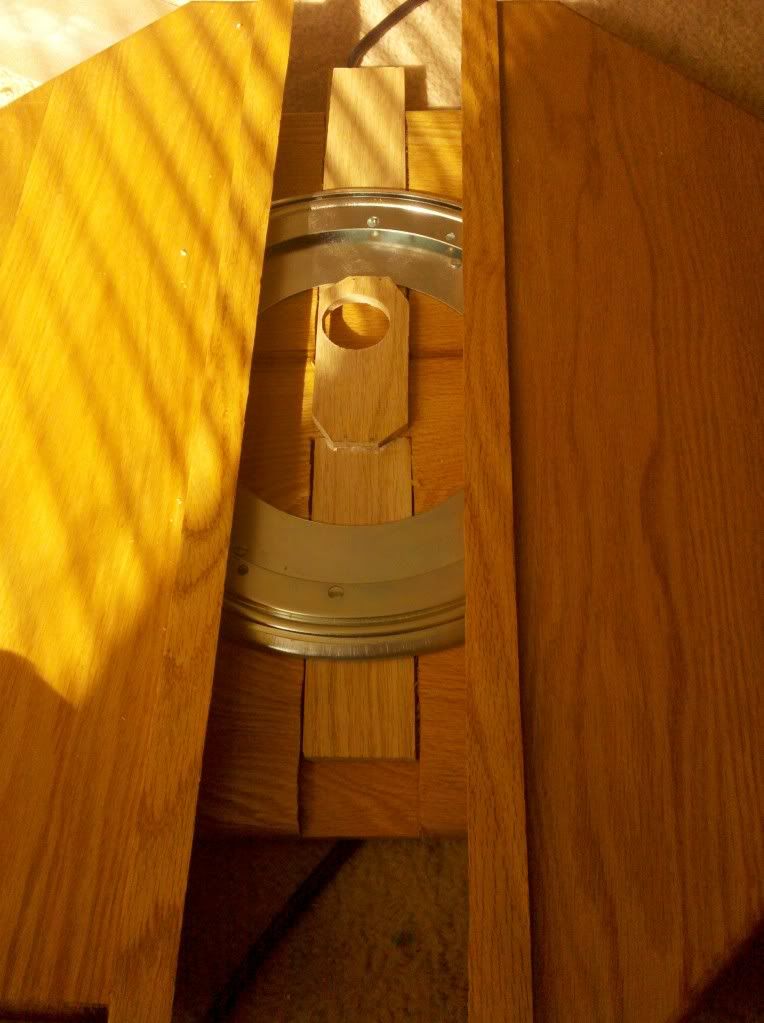
I then turned my attention back to the top hexagon. I want the observation hive to slide out. This gets a little tricky if you try to use slots and grooves. I decided to use angles on this one. I set the table saw to cut on a 35 degree and lined up the bottom corner to the blade, cutting at a 35 degree angle through the rails:
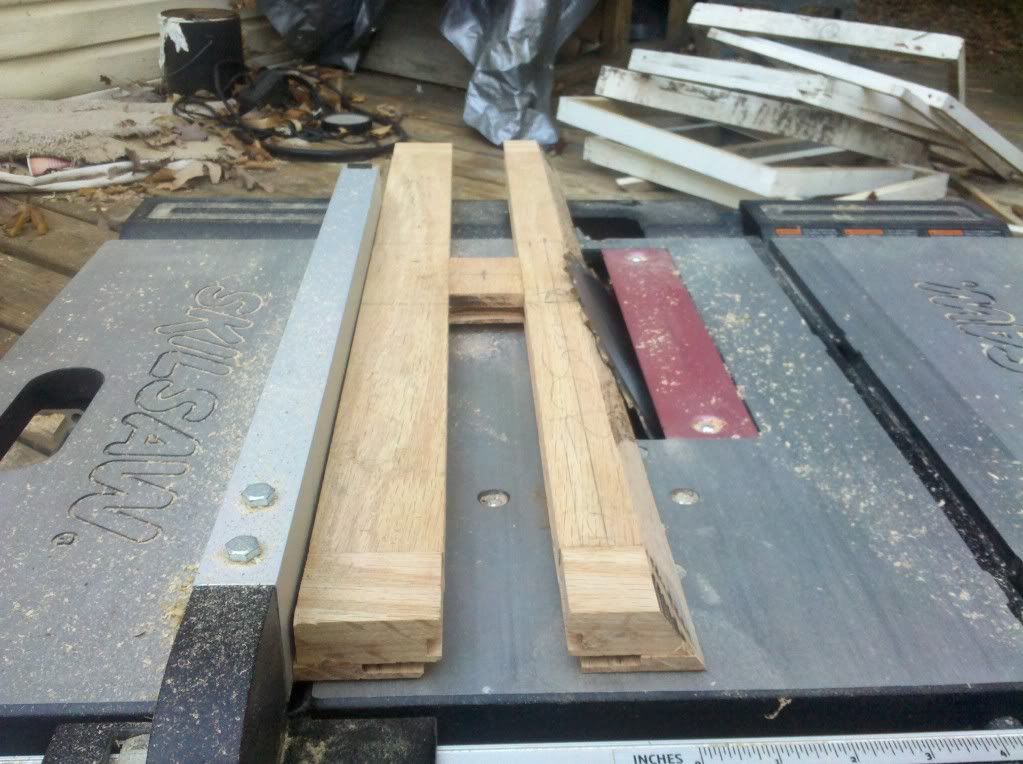
And completing the other side
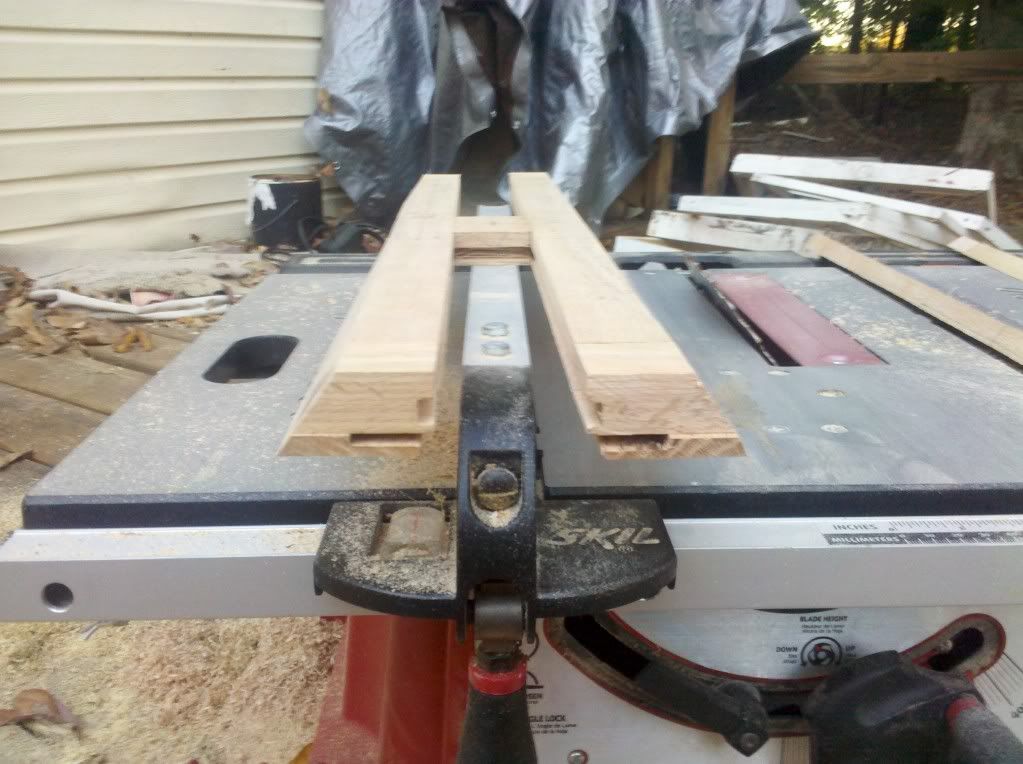
I then made sure that I cut the 24" long boards that make up the top hexagon at the same angle.
And as you can see they fit together quite nicely.
The bottom board will sit directly on top of the rails. Since the rails are made from one 1x6" board, and one 1/4x6" board, this makes the overall thickness more than the 1x6" board that makes up the hexagon. This gives a little wiggle room, that I wanted to avoid. So I cut a 1/4" board, about 1" wide at a 35 degree angle, and attached it to the top of the 24" hexagon board.
Now that the rails are completely cut, I can line it up with the bottom board, and drill the 1.5' hole directly through the center block.
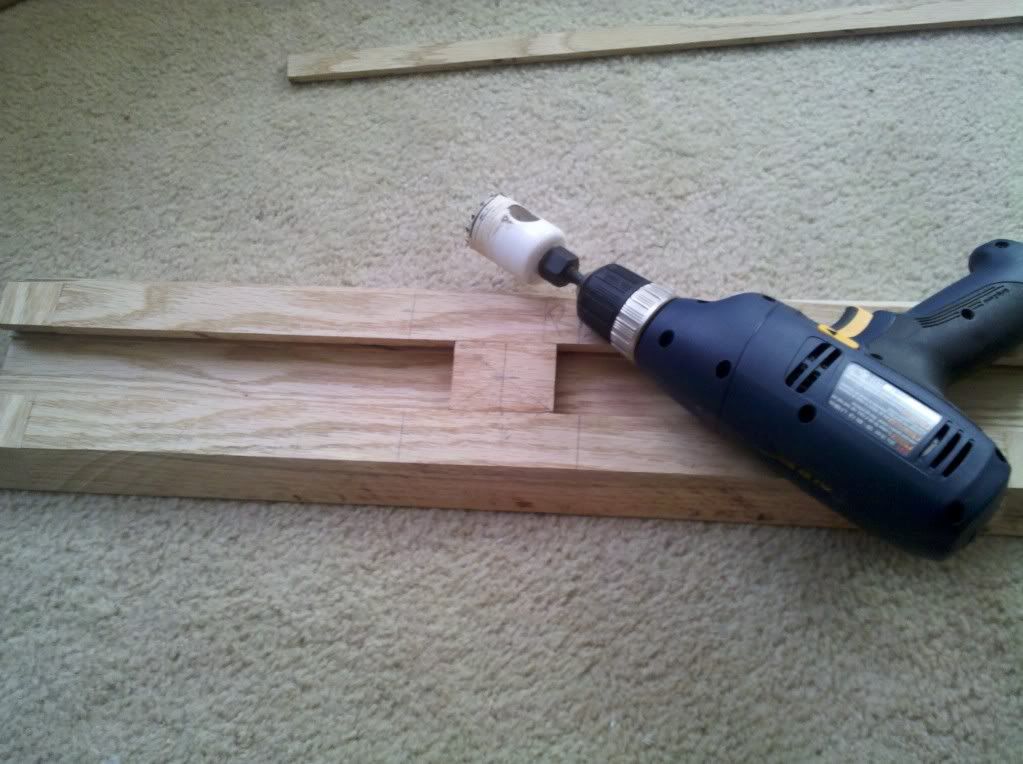
and then continue it through the slide.
The next set of pictures, for some reason, got deleted from my phone. I don't know what happened to it, but it is what it is. I can explain everything I did in the lost set of photos, and you'll see their end result later on, but the step by step photos have been lost forever. Sorry about that.
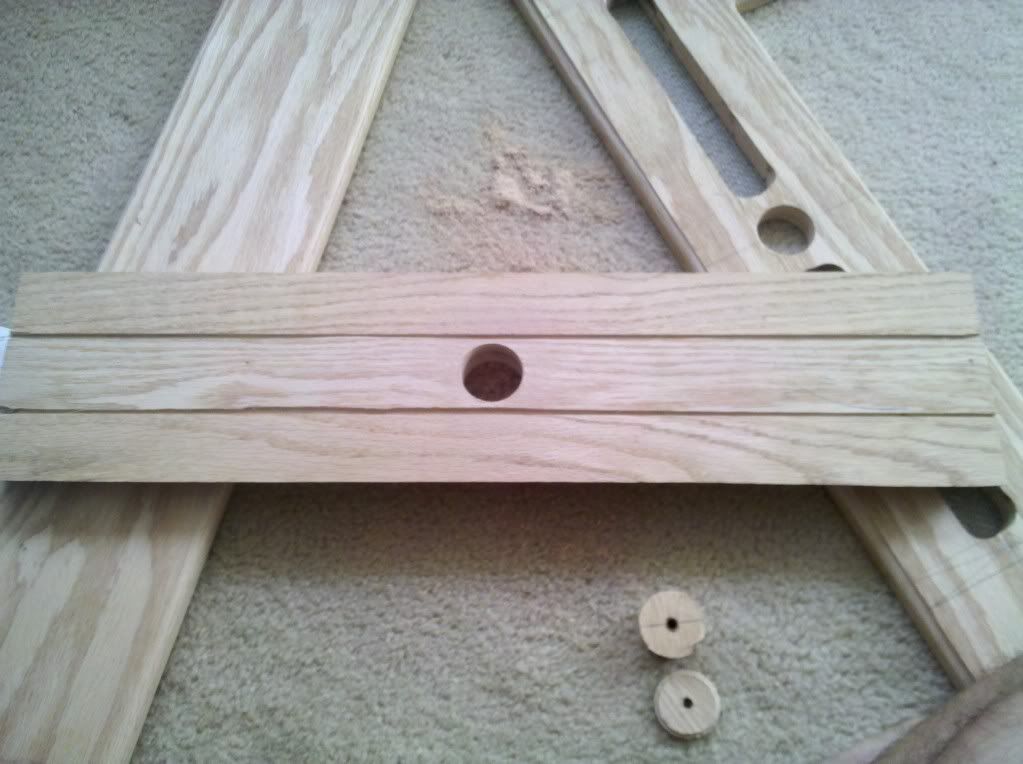
Anyway, having drilled the hole through the rails, and through the shut off, I went ahead and glued the rails to the bottom board that we previously made, making sure to line up the holes correctly. The slide should be on the bottom, and the wider part of it should be on the bottom as well.
From there, I glued the 24" top hexagonal board to each of the 23" top hexagonal boards that we created earlier. I cut a 24" hexagon out of them, routed the edges, and made it look all nice. :mrgreen:
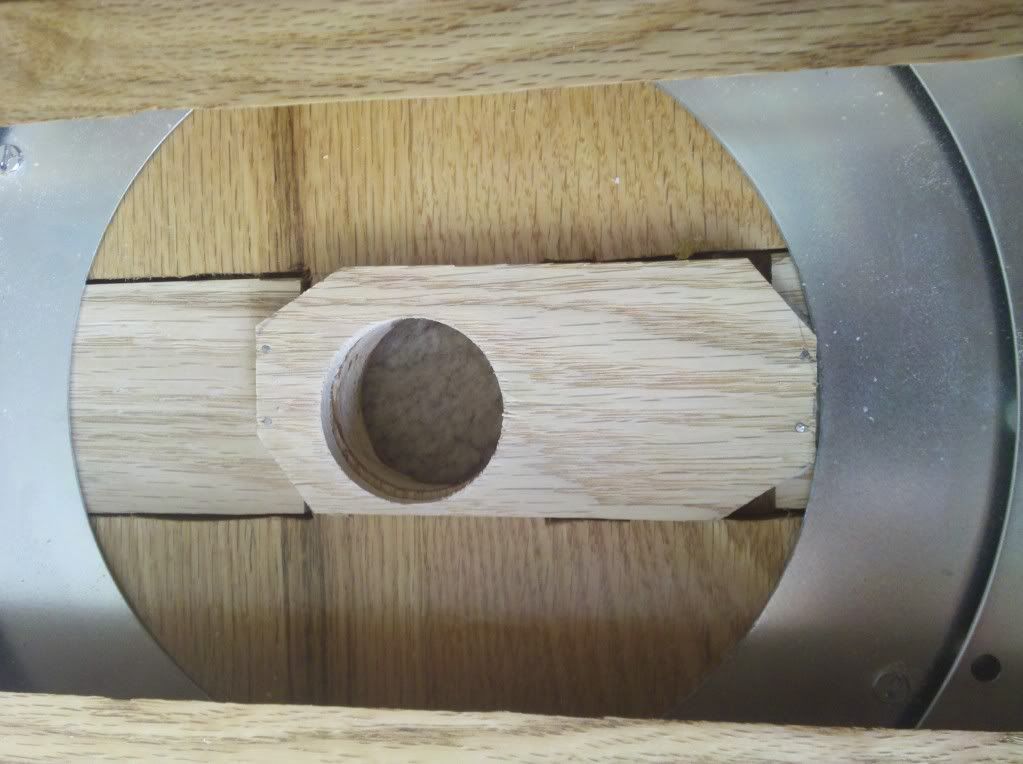
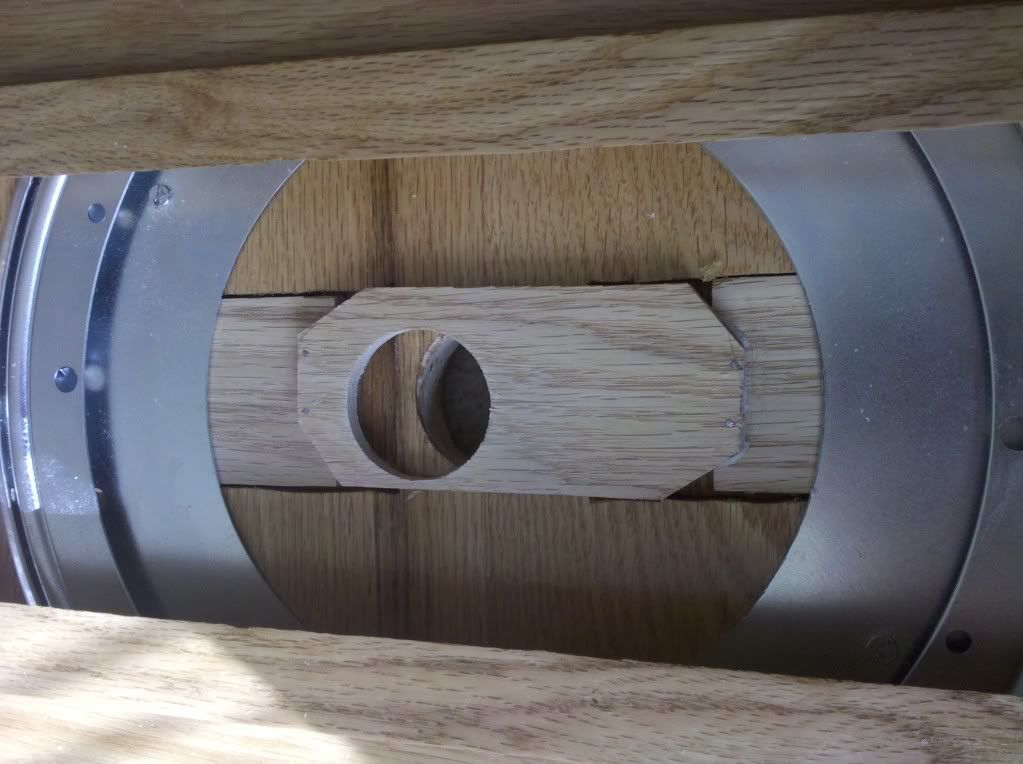
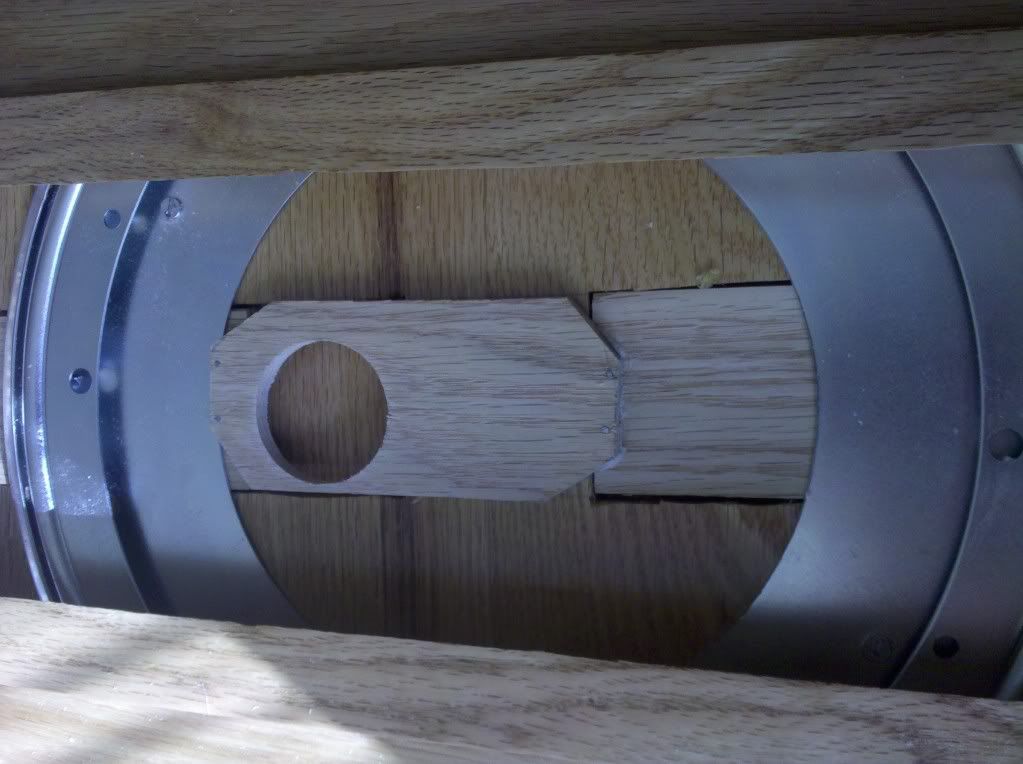
For the observation hive, it's important to have two shut off valves. One for the hive, and one for the base. When you slide the hive part out, you don't want to leave the entrance open for returning foragers to fly directly into your house. (made that mistake a few times) So the second part of the shut off valve will be located on the inside of the bottom hexagon. (some of these photos got lost too, sorry)
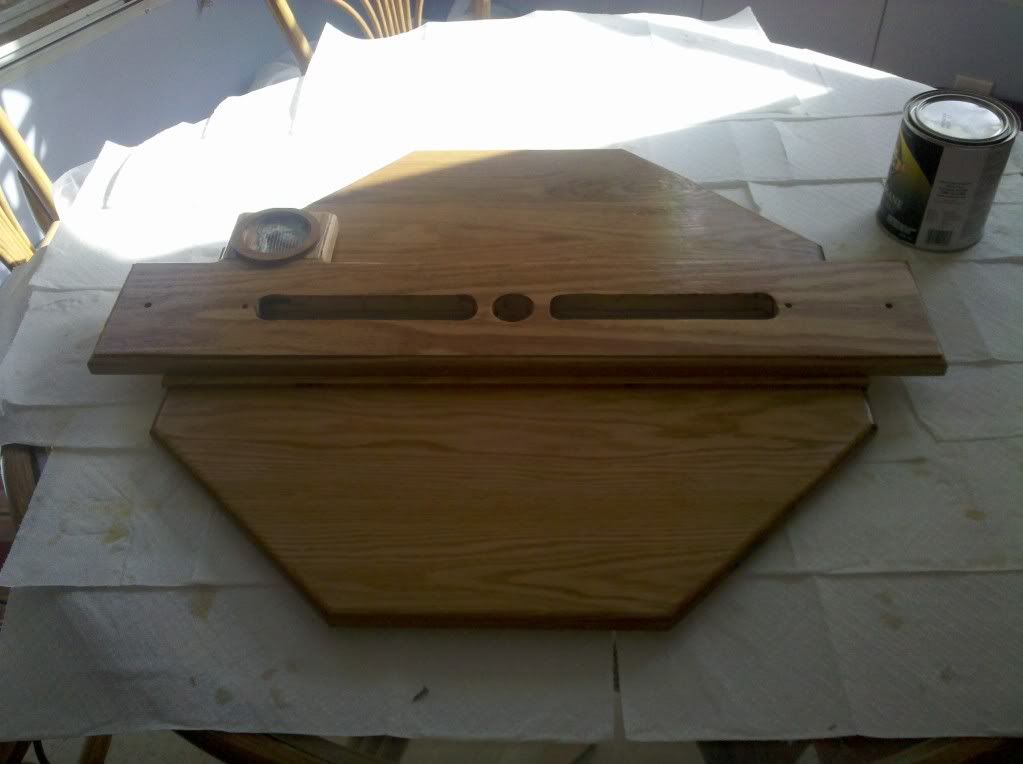
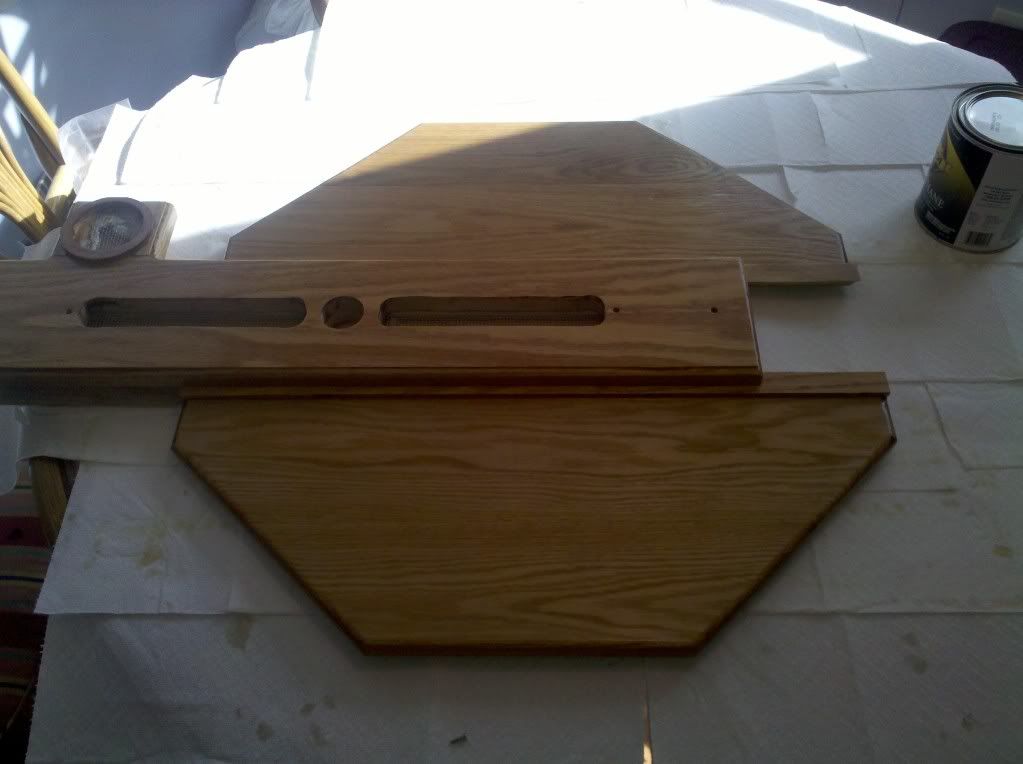
To start off, I created a channel that is 1/4" deep, and 1.75" wide going from the edge of the hexagon and up to 1/4" away from the center 1.5" hole
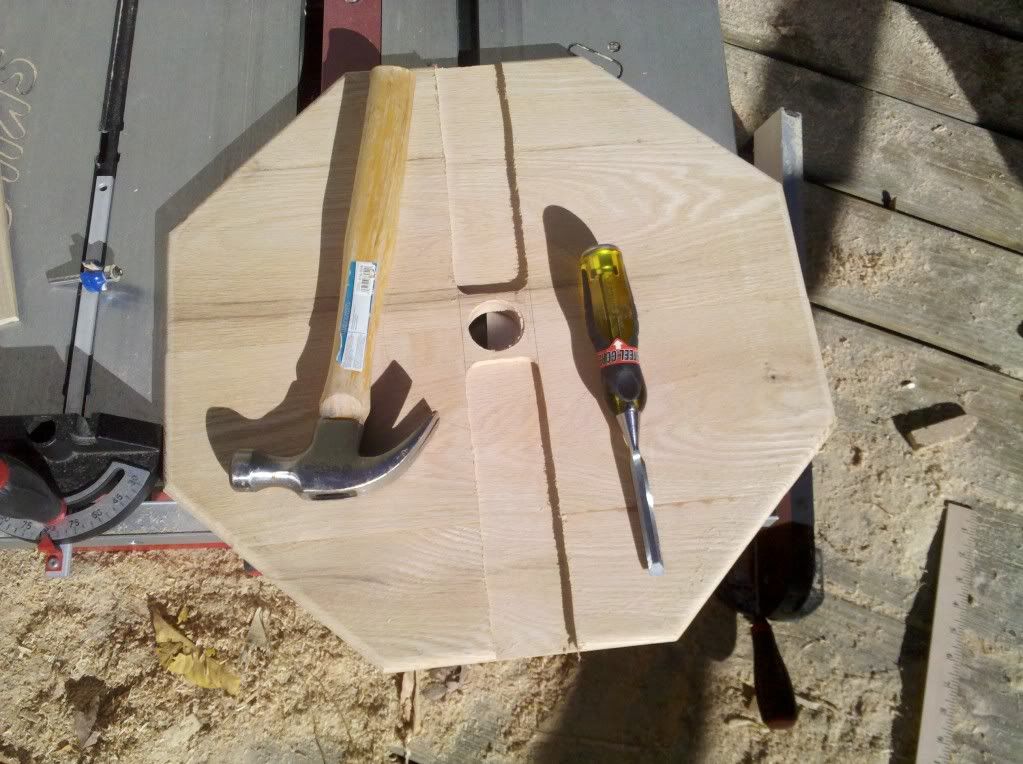
And used the chisel to square the edges. The rest of the slide is created using 1/4" oak, and creating three pieces. Two fit directly in the channel just cut with the router. The other has a 1.5" hole drilled through it. It looks something like this (pictures taken much later, so bear with me).
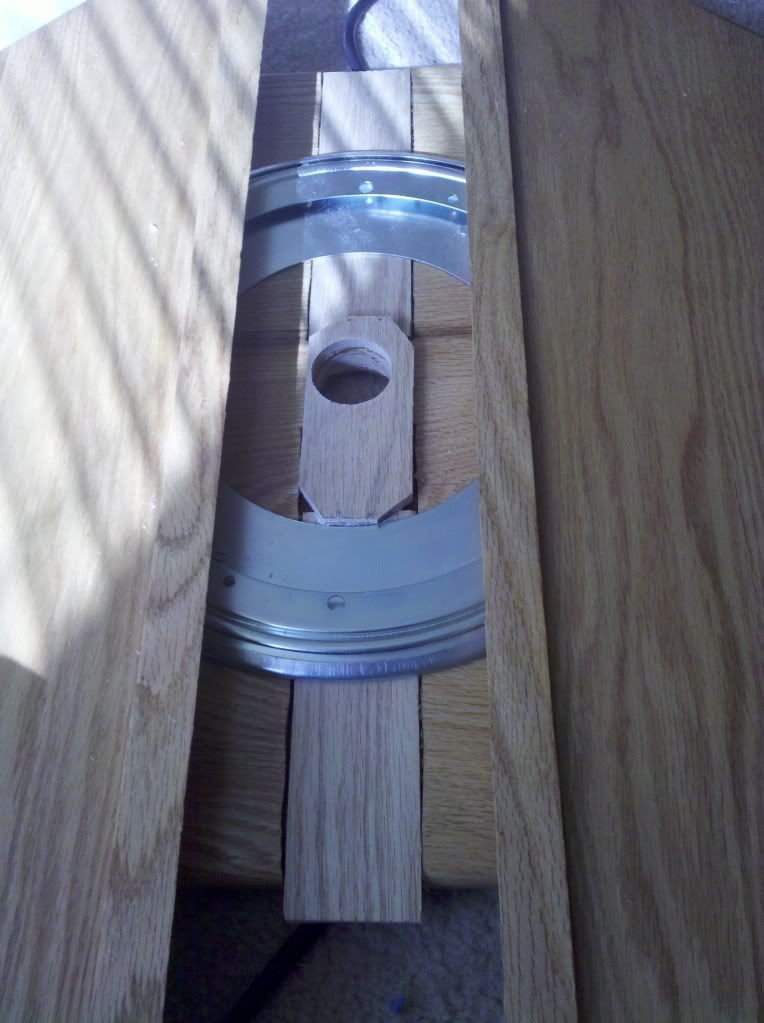
By pushing on one side of the slide, you are able to shut off the entrance hole.
Having completed the construction of the second shut off valve, I then got out the polyurethane and gave everything a good couple of coats. :mrgreen:
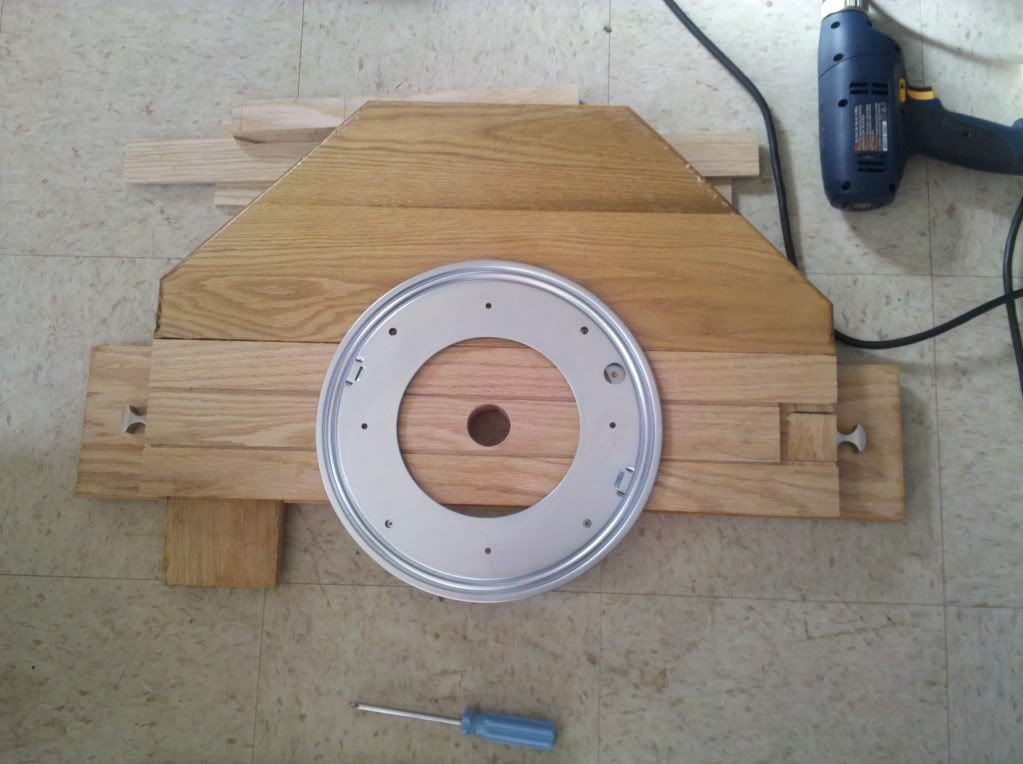
After that, I attached the top two sections of the hexagon to the lazy susan mechanics, available at Lowes.
By flipping over all the pieces, it's important that you place the center of the 1.5" hole in the center of the lazy susan. If you don't, it spins out of control, literally.
Starting with the bottom board, flip it over and place the lazy susan in the center. Then slide one of the top hexagonal pieces up to the bottom board, and attach the lazy susan ONLY TO THE HEXAGONAL BOARD, make sure you don't attach the lazy susan to the bottom board.
And repeat the process for the other side.

Then you can go ahead and flip it over.
Then you can see how the bottom board will be able to slide away from the lazy susan, as well as the base of the observation hive.
Then, with the bottom slide mechanism in place, you line up the bottom hexagon, and attach it to the lazy susan, giving you the end result of the base.
Alright, my hands are kinda tired, so I'm ending this day right here. Hopefully the lost pictures won't be too detrimental to anyone's attempt to recreate this. If you are having difficulties, just let me know.
Just so you know, I've just about completed the construction of the observation hive (although I havn't started it's stand), I'm just very behind on the updates. Please bear with me.
Thanks again for stoping in.

