Day 5
Alright, since the last one was fairly easy and straightforward, it seems only fair that this one be somewhat more complicated.
I started working on the bottom board, which comes in three parts. This is part number one, which consists of the main bottom board and the screened section.
I first started off with a 1"x6" board.
And I cut it to 29" long.
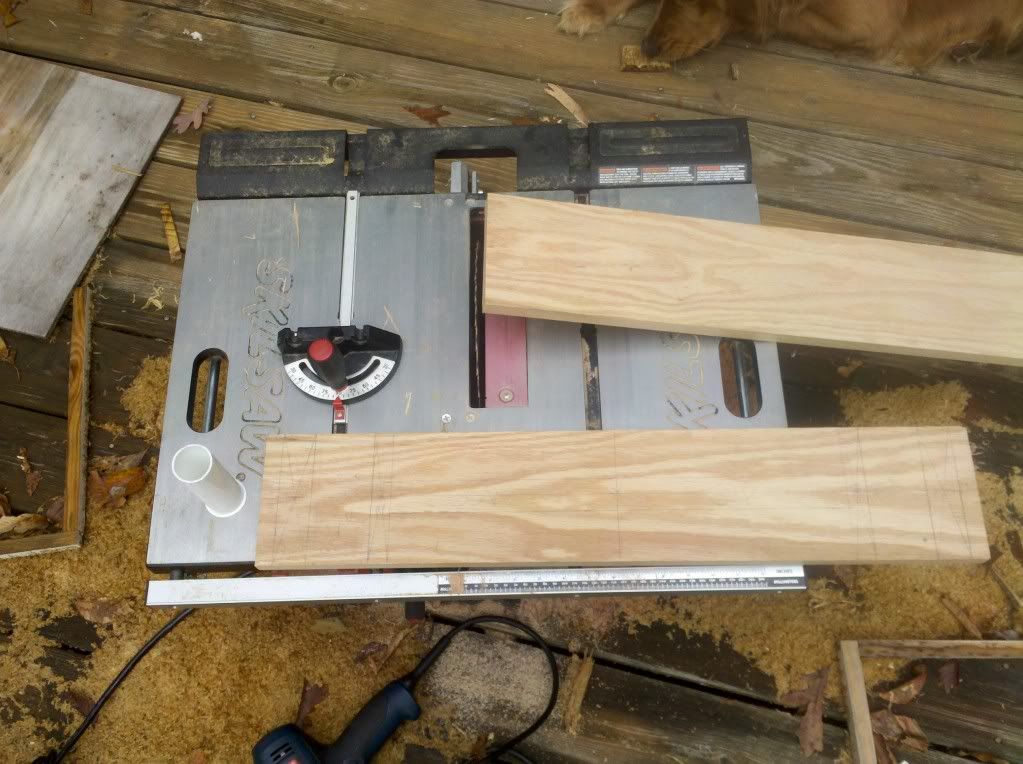
The reason why it is 29" long, and not a nice even number like 24" or 30" is because I want to make sure that I include everything that I want in it, while reducing the size as much as possible. This allows for it to fit in smaller spaces inside my house, and makes for easier transport when needed.
I marked all over this thing to show where everything goes.
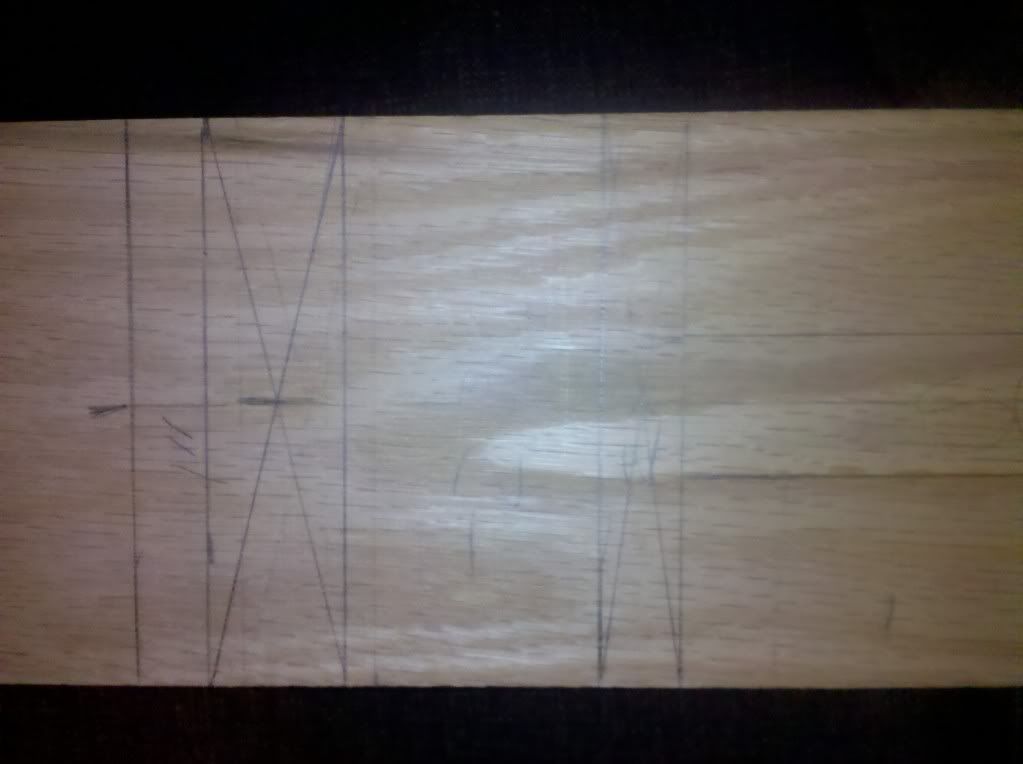
The exact spots were everything goes doesn't matter too much right now, but if you were wondering, I have two support poles, the center of each will be placed 1 & 3/8" in from the edges. From there, the frame rests will be placed (the center of it) 4 & 7/8" in from either side. The center of the board will be 14 & 1/2" (obviously).
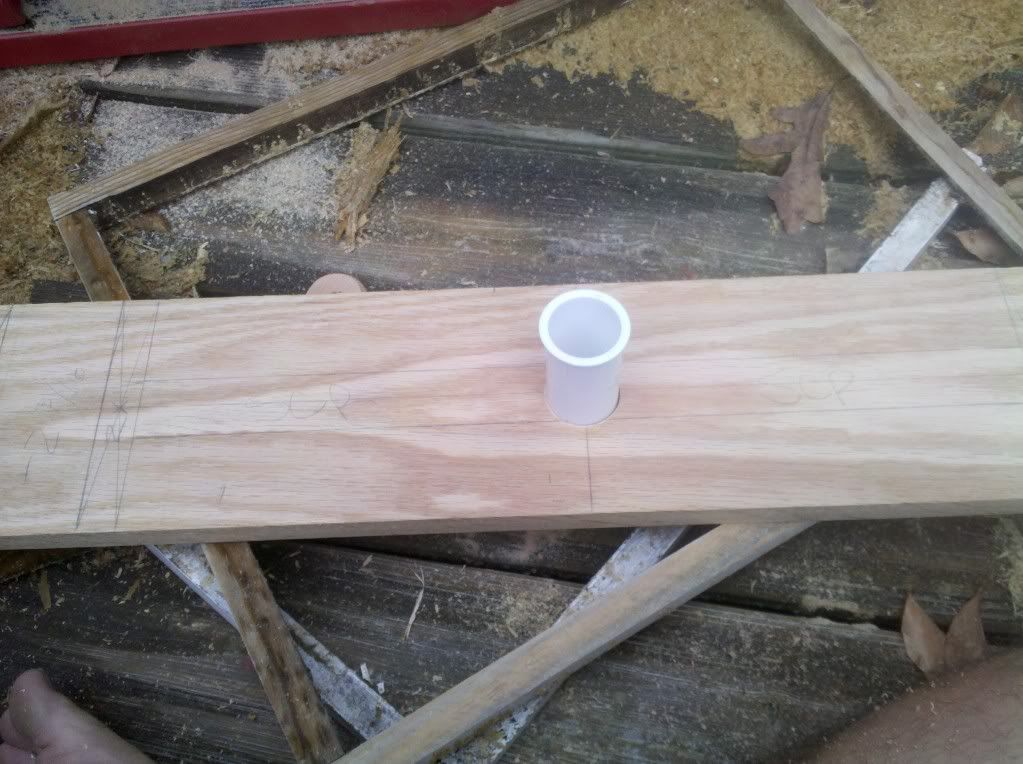
Finding the center, I drill a hole with a 1.5" hole saw.
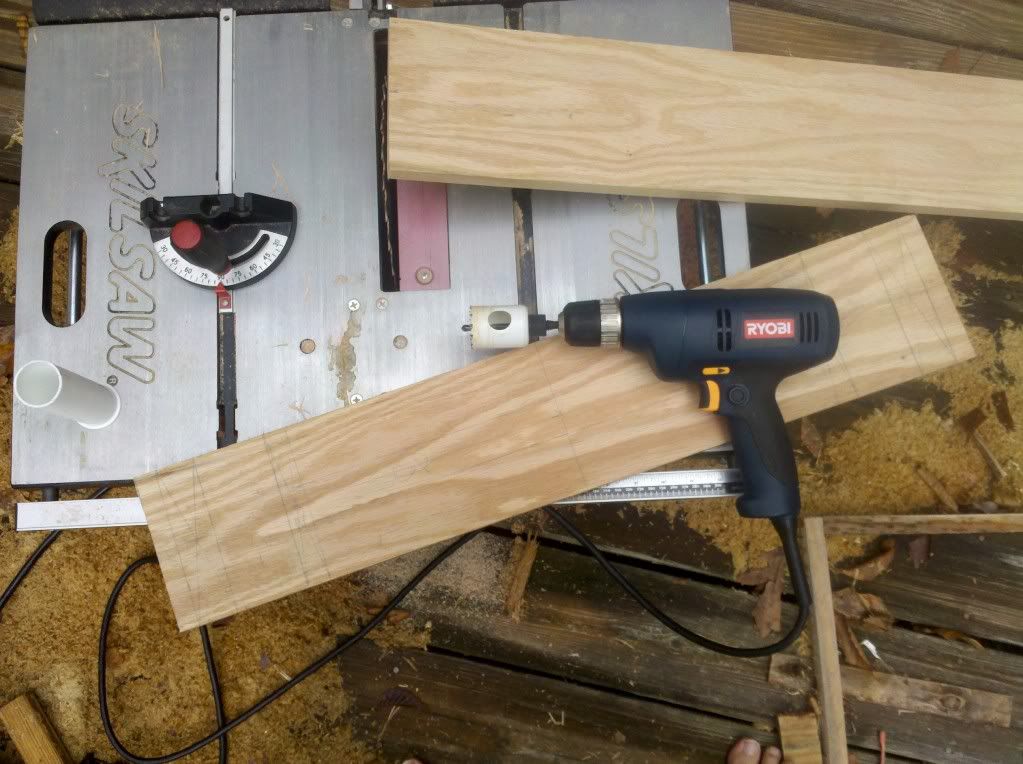
The reason I've chosen a 1.5" hole, is one of these fits nicely in there.
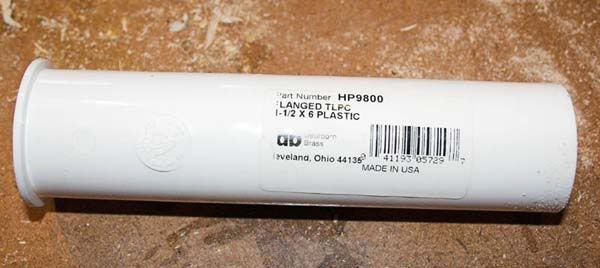
a simple 1.5" x 6" plastic sink flange (photo courtesy of Robo and
http://www.myoldtools.com/OBhive/OB_Chapter1.htm). I incorporated one of these into an OH I had a few years ago, and I loved it. I have not yet decided if I will use it, but I would like the option.
Here is what it looks like with it sticking out, showing how nice it fits. :mrgreen:
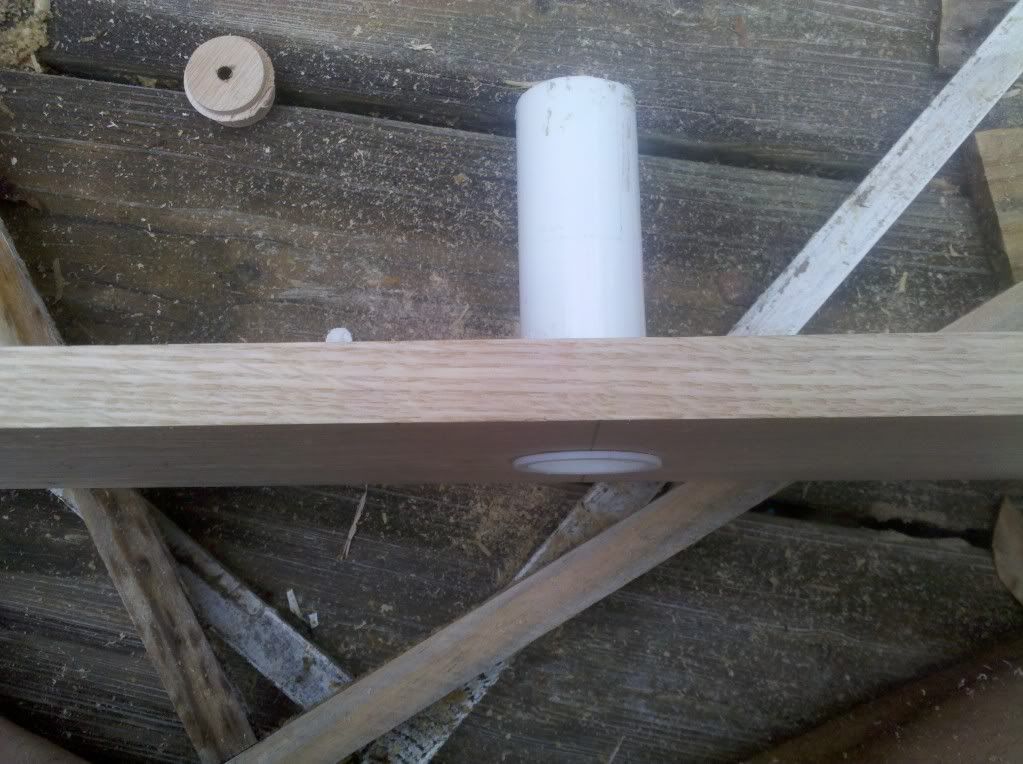
In the past I have routed a groove to make sure the sink flange sits flat. If I decide to use it again, I will route a groove, but I have not yet done so at this time.
Moving on, I now started to work on the screened bottom portion. Grabbing my router and the 3/4" straight bit.
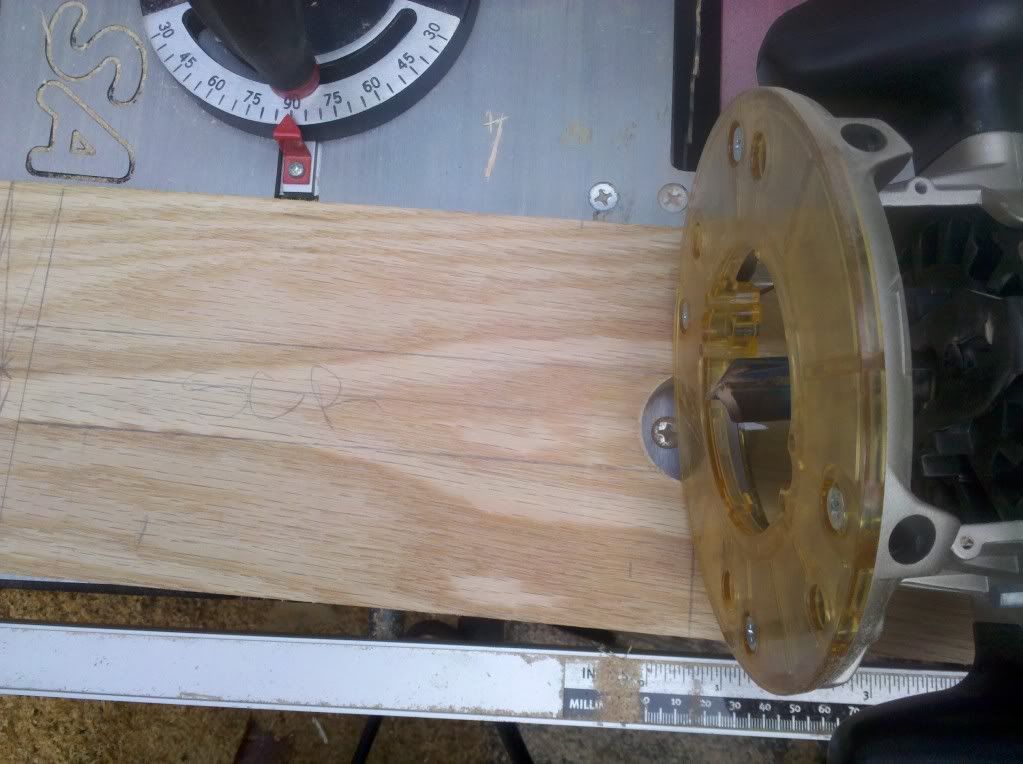
The cuts start 5 & 1/4" in from either side, are 7 & 7/8" long and 1.5" wide. If placed correctly, the cuts should be 0.5" away from the hole that you previously cut in the center.
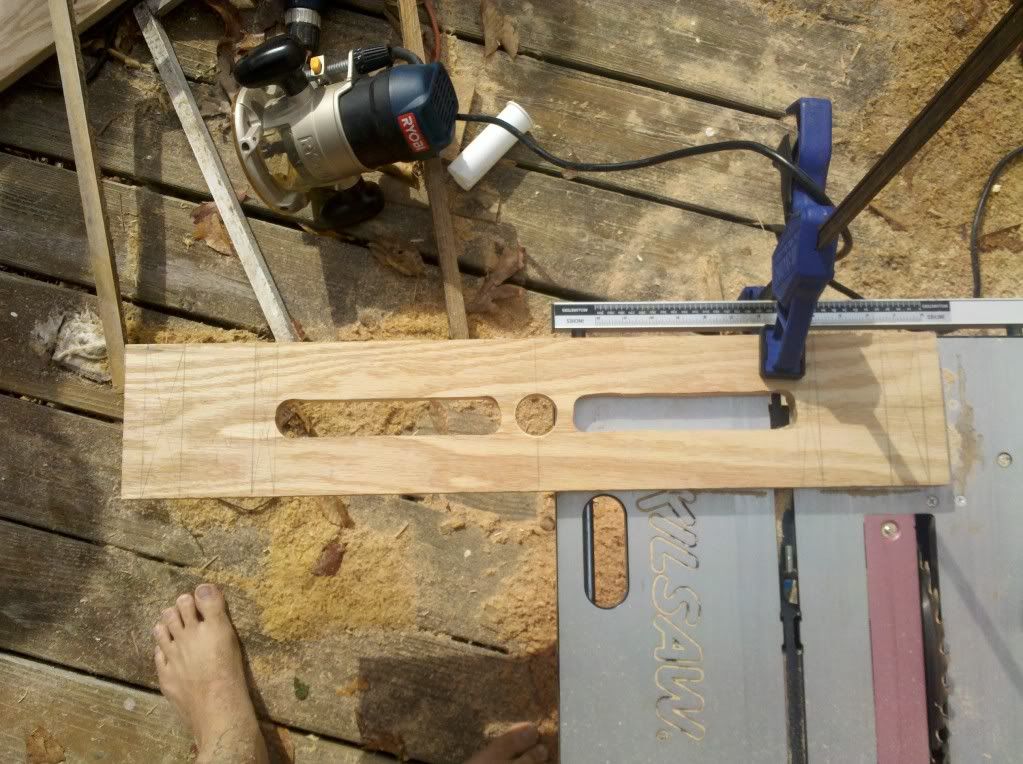
I skipped the interum cuts, but needless to say it took SEVERAL passes with the router to cut all the way through it. It also took a steady hand, as I decided not to use any guides and wanted to do it free hand. I don't know why, I was just in the mood to be creative :roll:
From here, we need to make the cuts for the feeder, that will be attached to the side near one of the frame rests. I flipped the board over (so as to make sure not to cut through the pencil marks I made previously) and cut a 1" wide groove, 5/8" deep using the router again. Make sure that the one end of the 1" wide groove matches up with where the frame rest will begin, and where the screened cut you just made ended.
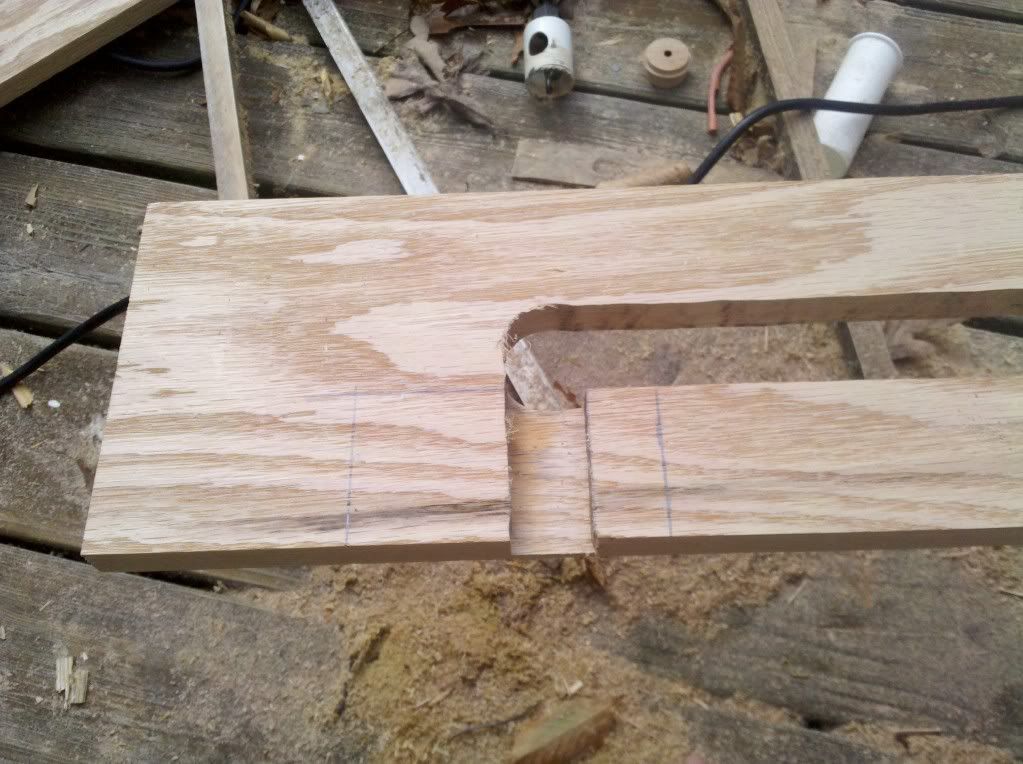
This will create the channel for the bees to pass in and out to the feeder.
Next, I used the router still to cut a 0.25" deep cut that is 4" x 3". I chose not to center this cut around the groove, because if I did the feeder would mostly block the hive. Instead, I want it to mostly block the space next to the frame rest. As such, I made sure that I only cut 1" of space toward the center of the board, and 2" toward the outside of the board (2" outside, + 1" center, +1" of space already cut = 4").
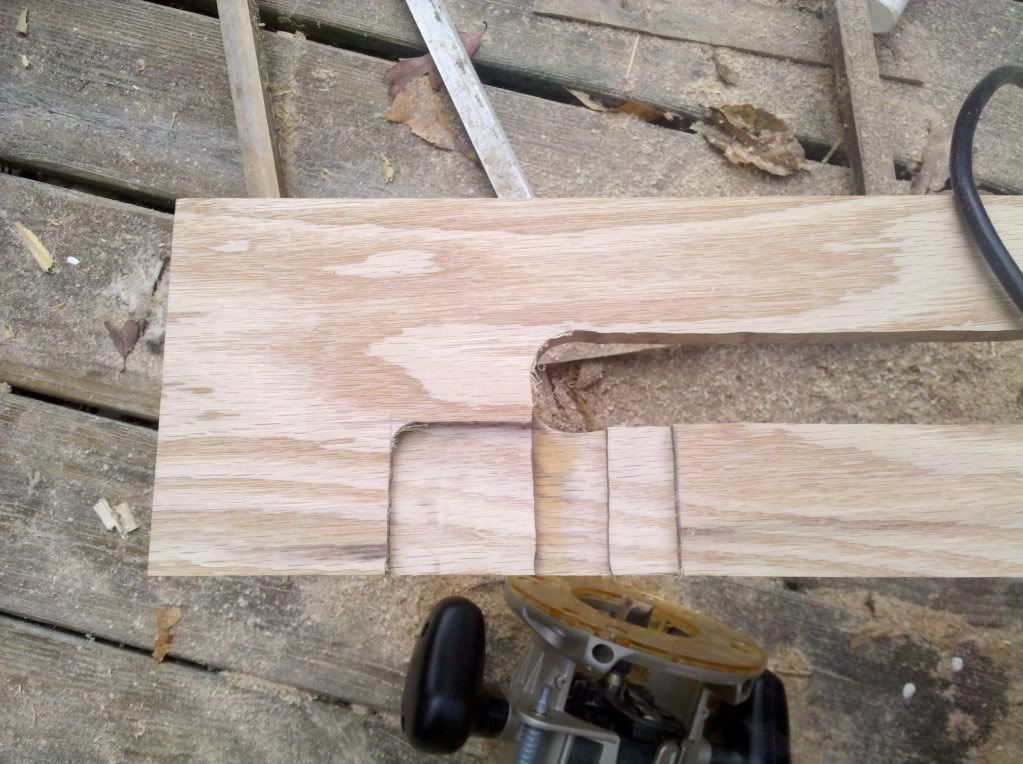
Here is a little better picture to show the difference in depths of the cuts.
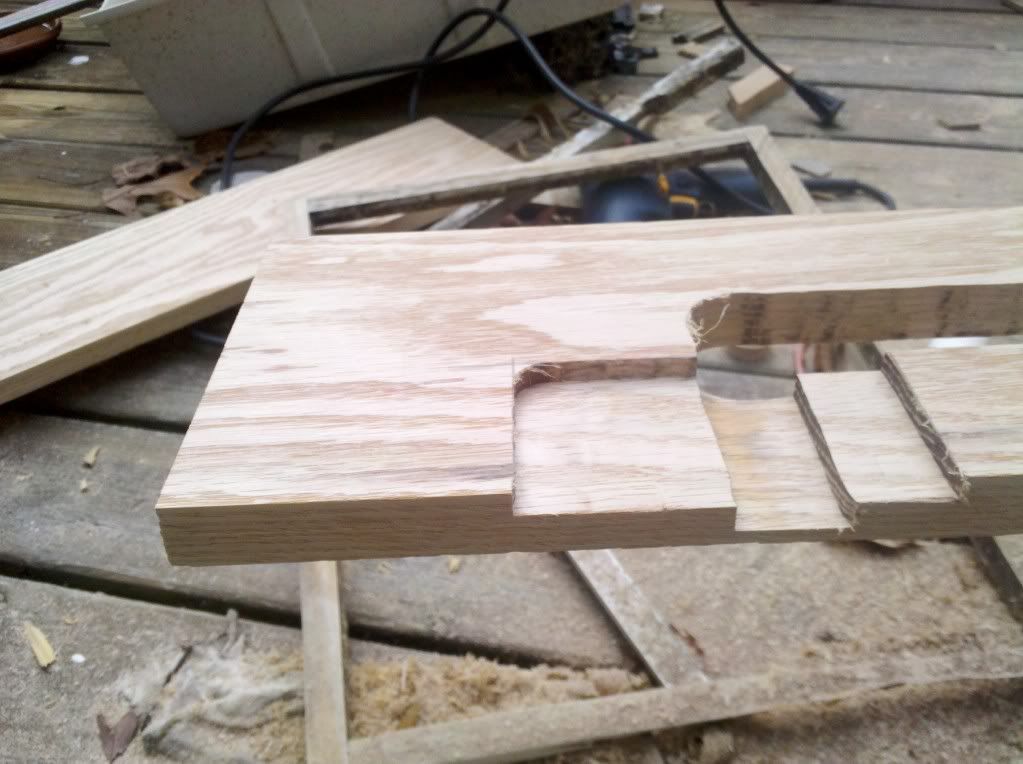
As you will notice, the one edge is rounded (from using the router). I need it square, so I grabbed a chisel and a hammer.
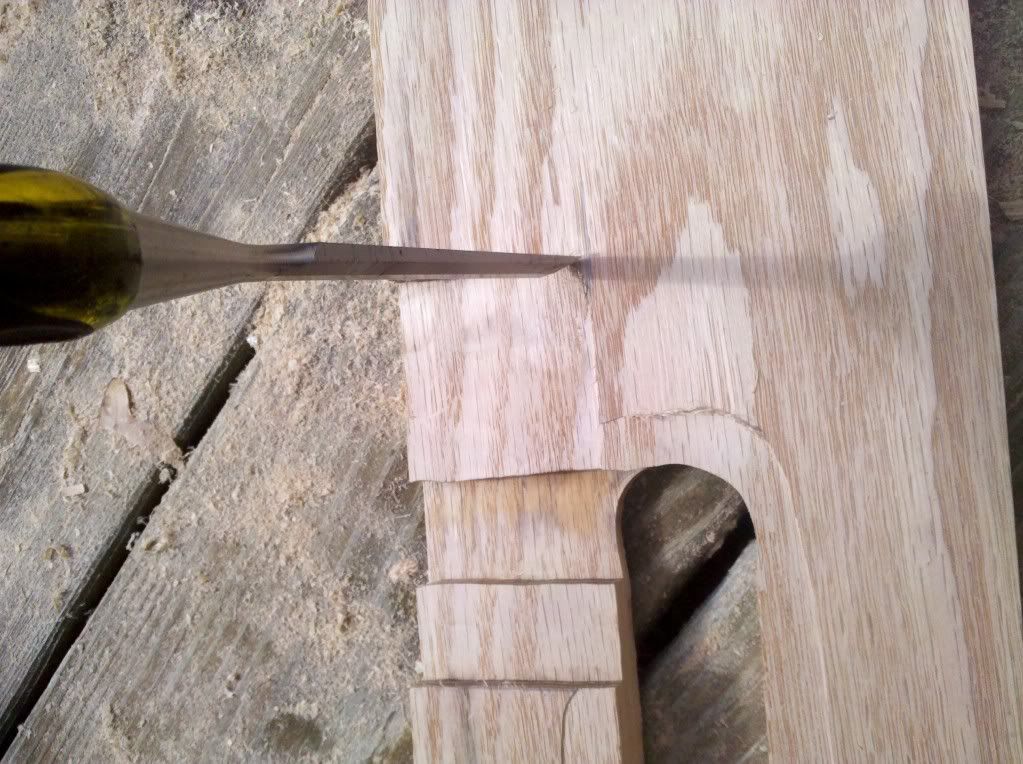
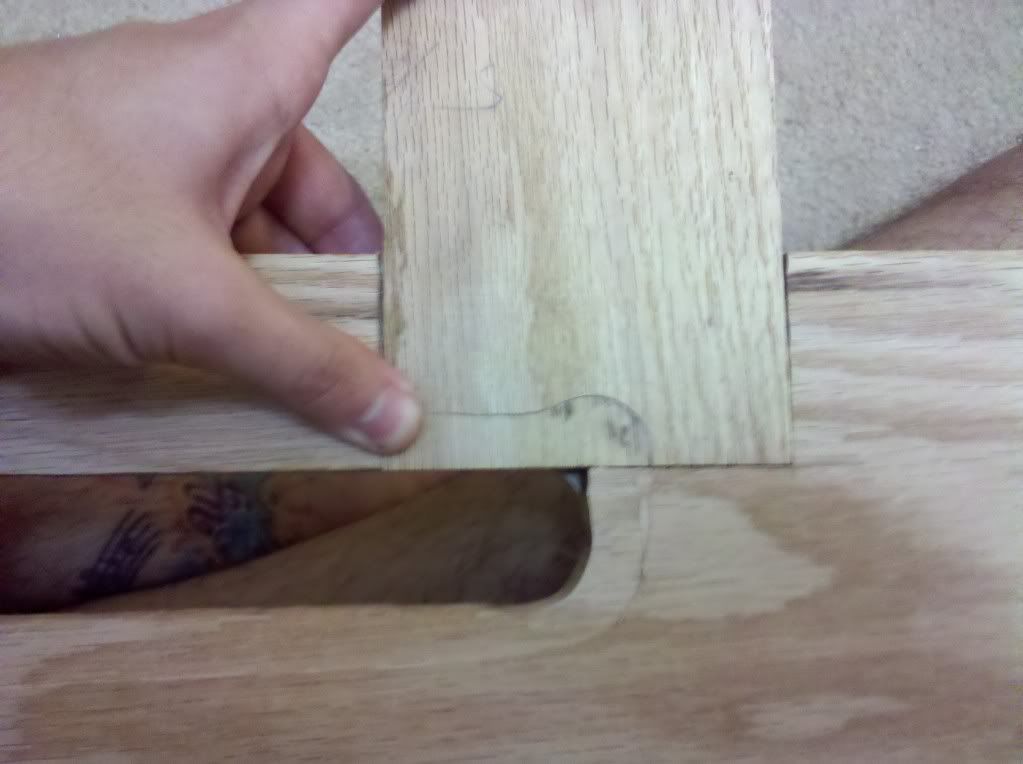
And squared it off. From here, I now have the space for the feeder, but I need to actually put in the feeder. So I grabbed a 1/4" x 5" oak board, and cut off a 4" x 5 & 1/8" section.
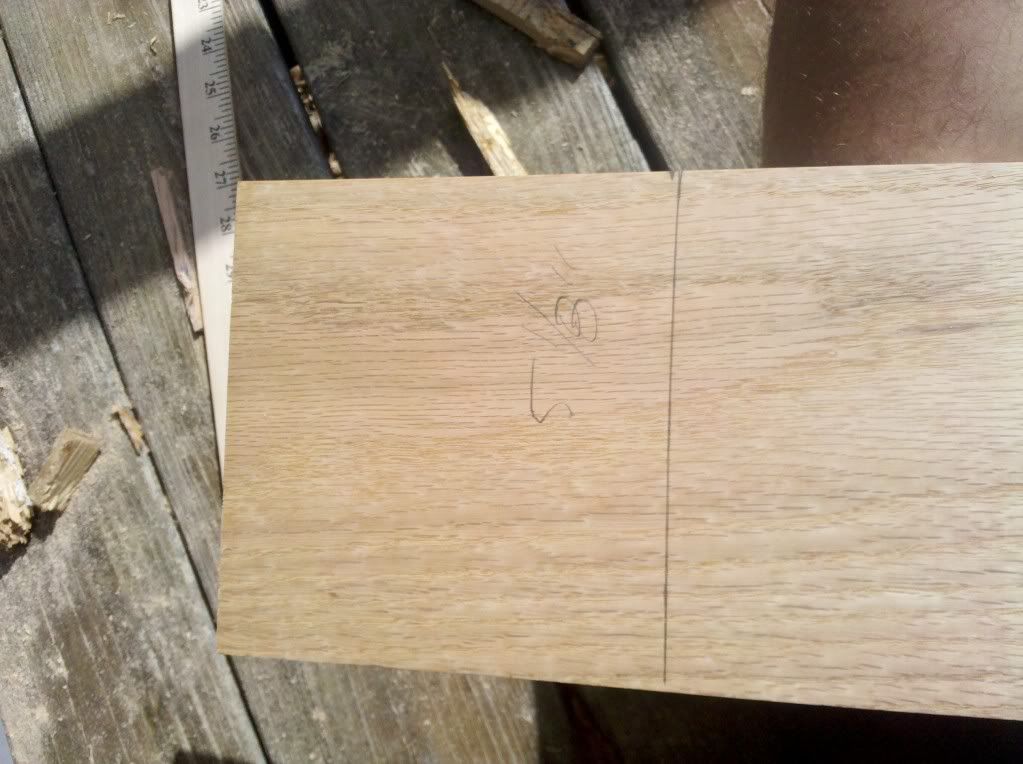
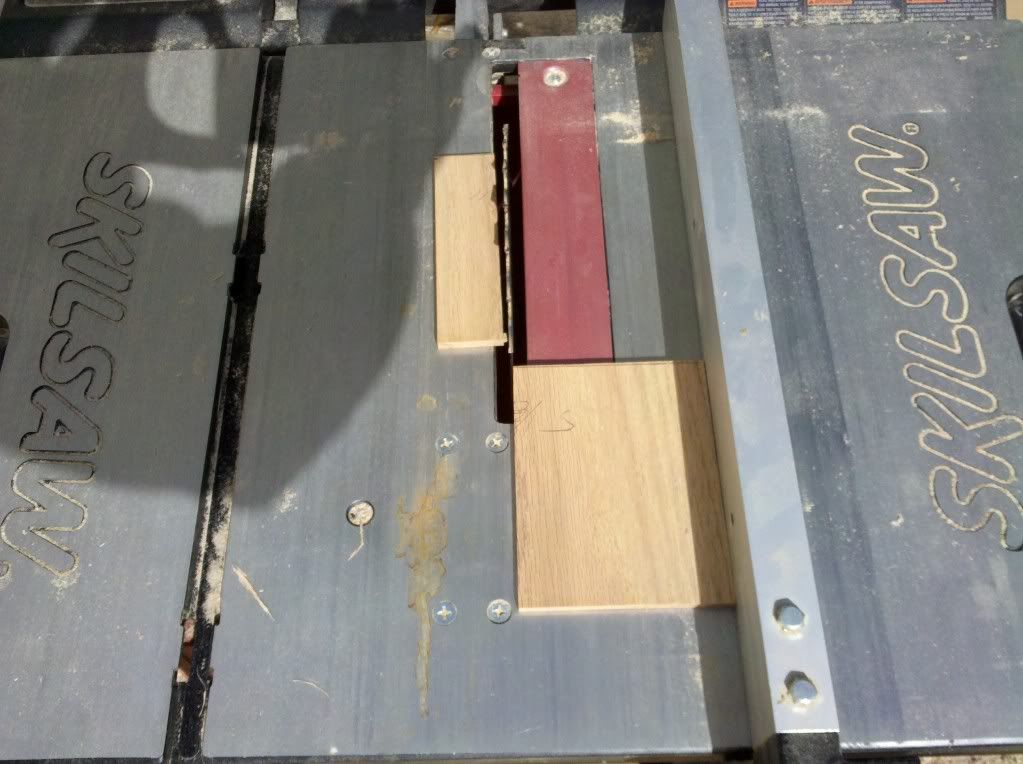
And as you will see, it fits rather nicely into the cut that we just made.
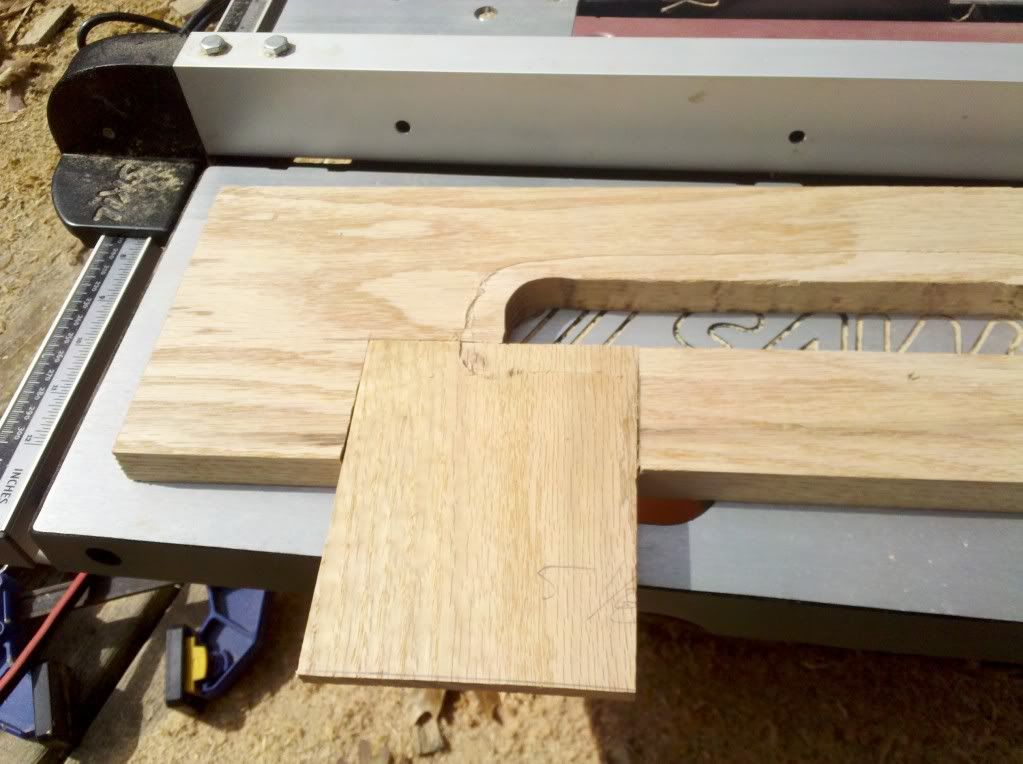
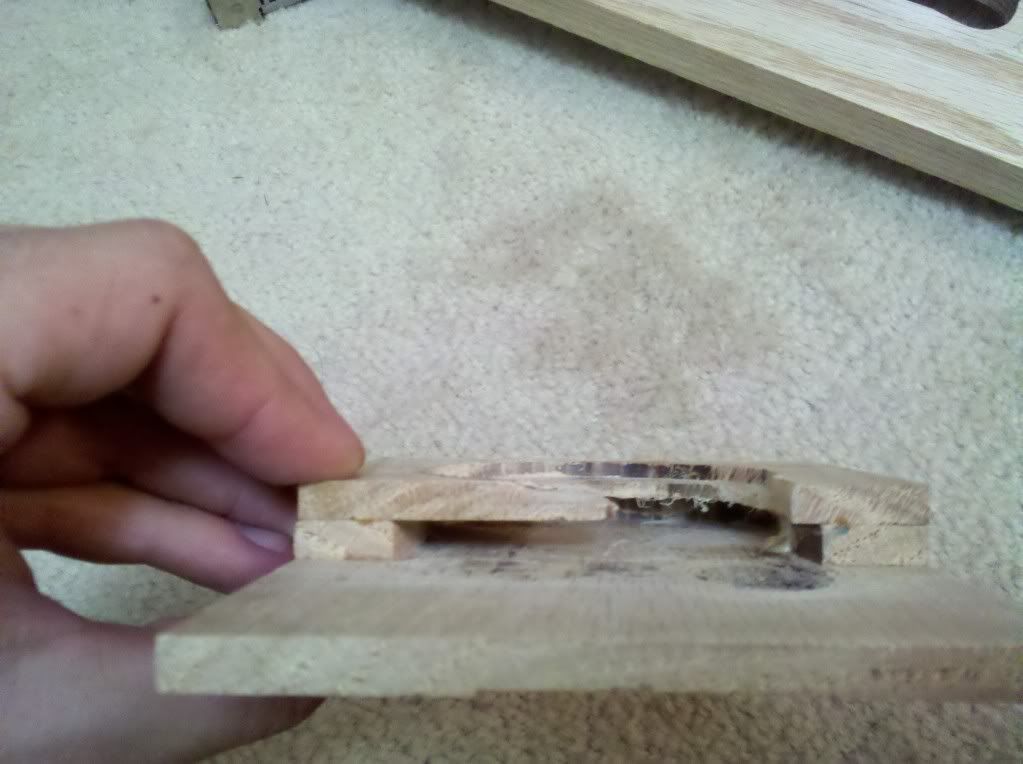
From there I constructed a basic feeder. I actually fumbled this part up, as you can see. The construction of it was fairly simple, but I just tried to use the feeder again, and chips went flying. It was constructed out of 1/4" oak again.
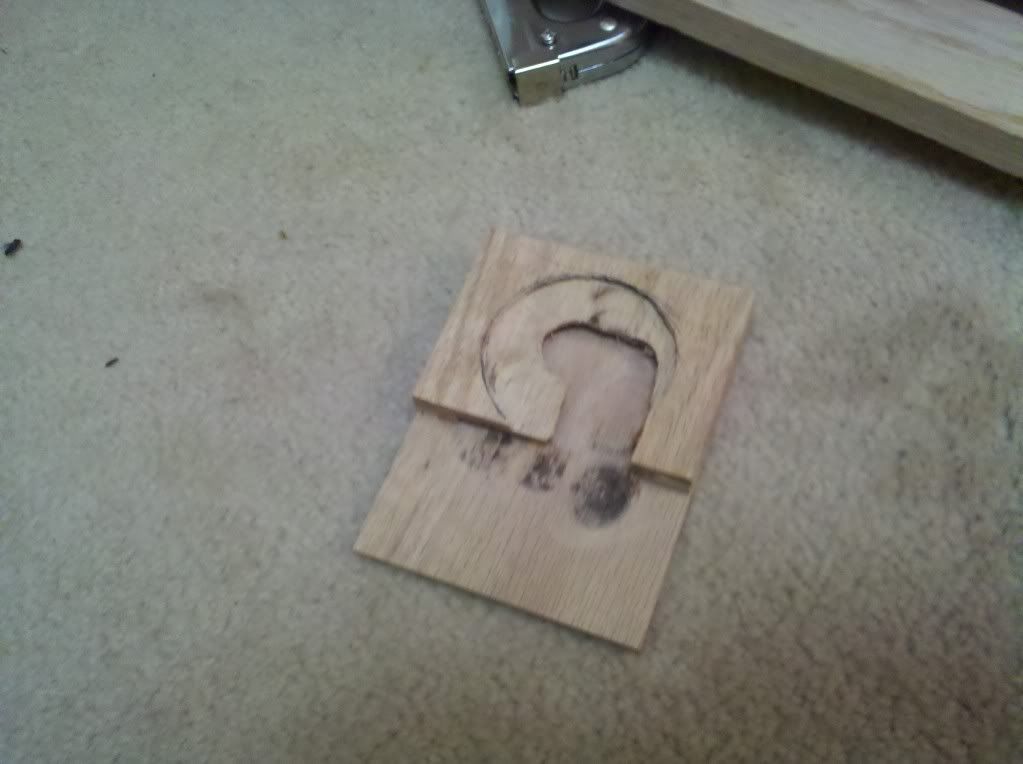
I know the "industry standard" is to use mason jars as feeders. That's great for others, but I use applesause jars. They are easy to come by, glass, and replaceable at will. To each heir own I guess. An applesause jar lid is 2 5/8" wide, so that's what I used. If you have a mason jar, you might want to adjust it accordingly.
Here is a view looking inside the feeder, notice that the gap for the opening is more on one side than it is on the other. That's because of the opening in the wood is on one side more than on the other.
To prevent the little ladies from getting out when the feeder isn't there, we need some #8 hardware cloth. I first started by stapling it to right above the entrance of the feeder, on the bottom board side.
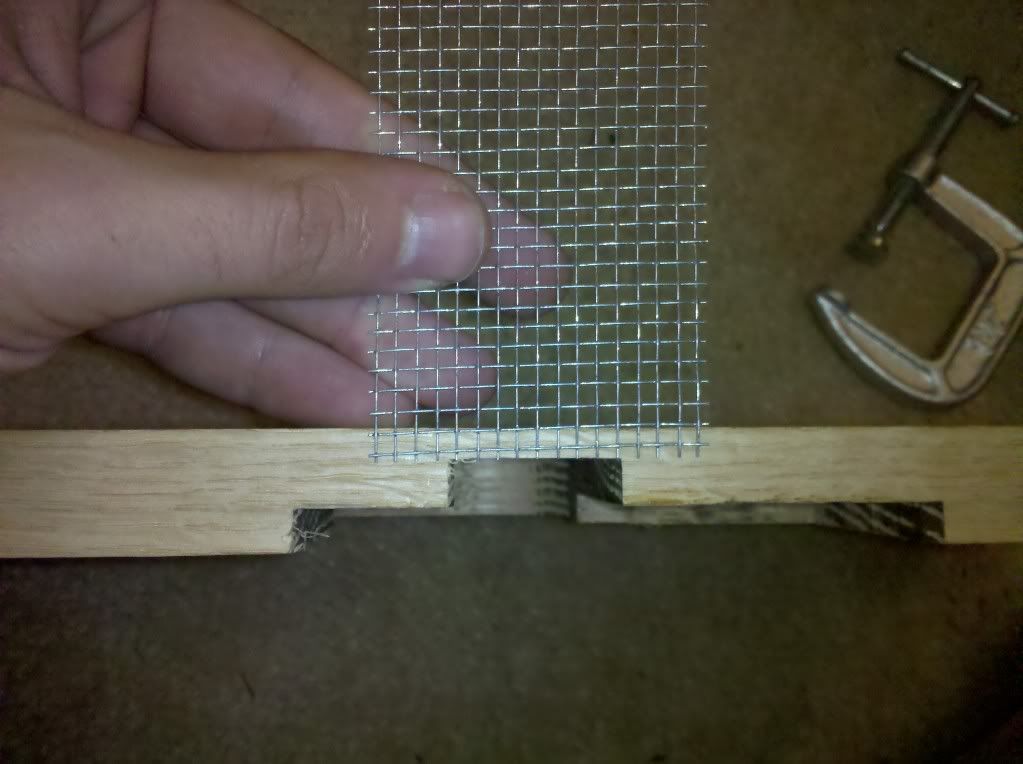
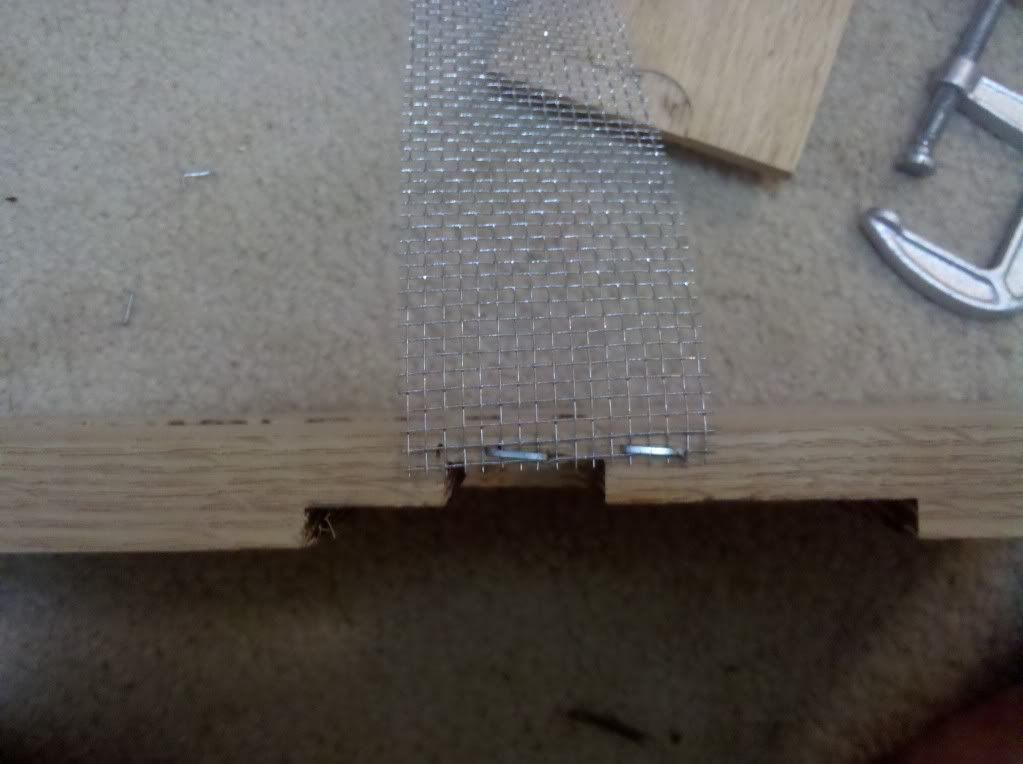
Leaving the mesh there for now, I grabbed some good glue.
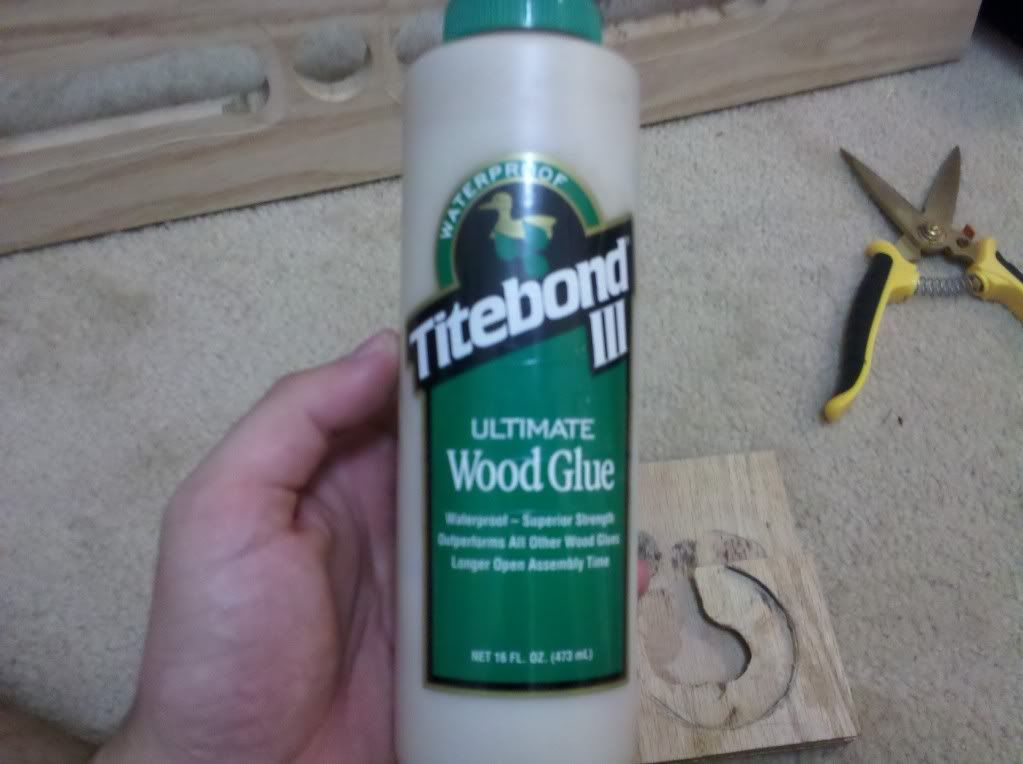
and glued the feeder to the bottom board.
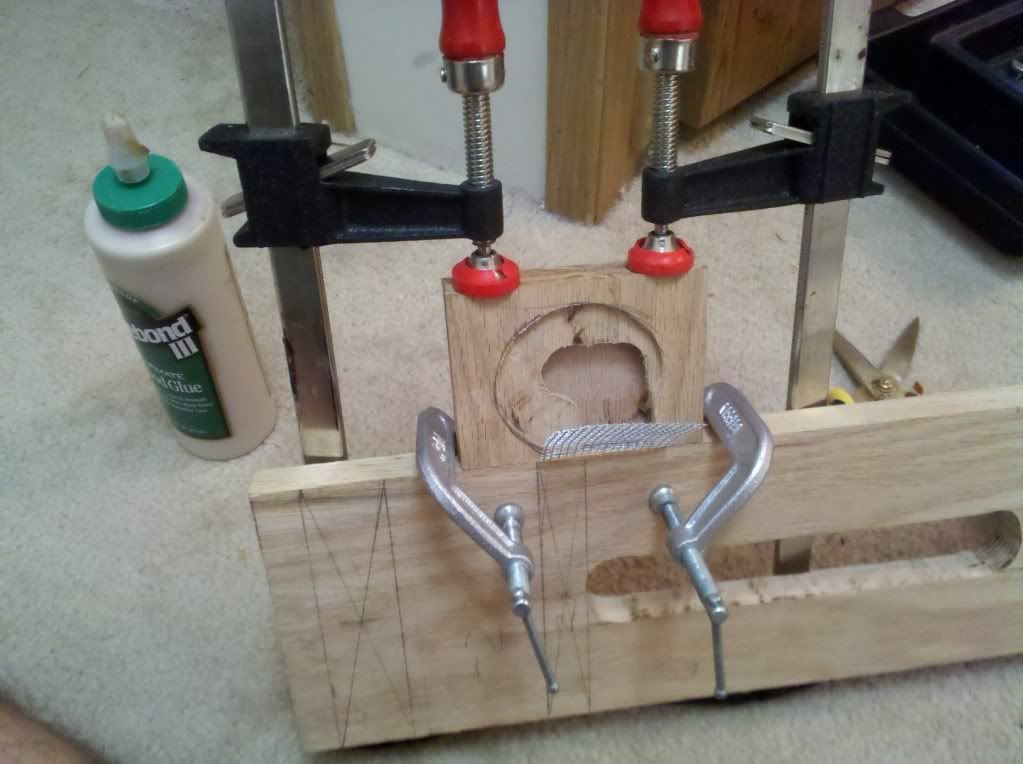
Once held in place, I was able to fold the mesh down over the feeder, cut it to fit, and staple it to the feeder.
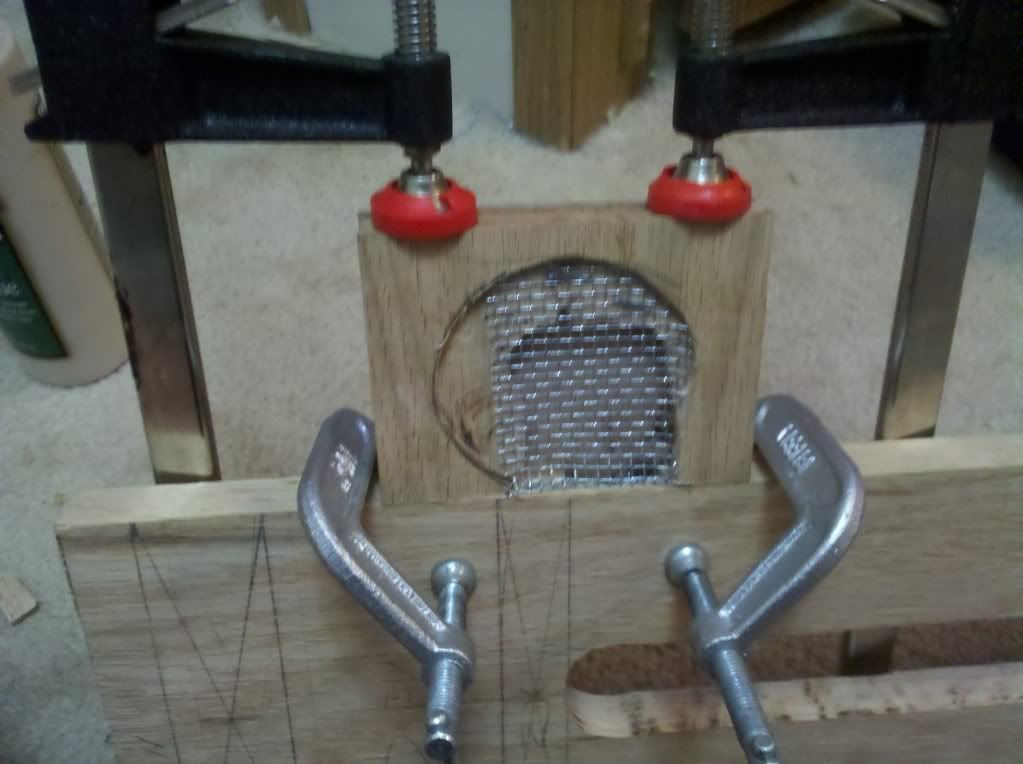
I eventually wasn't satisfied with just the staples, and felt the feeder needed a little more support. I eventually added some guerilla glue (admitedly too much of it) as well as a collar for the feeder. I didn't take pictures as I was doing it, but you can see it in the end shots.
Last thing that we need to do is attach the screen to the cuts you made in the bottom board. I'll be attaching wood to the underside of this bottom board, so I need to make sure that the wood attached will sit flat even with the screen there. So, I went BACK to the router and cut a groove around the screened cut we made before. It was only about a 1/16" deep, just about the thickness of #8 hardware cloth.
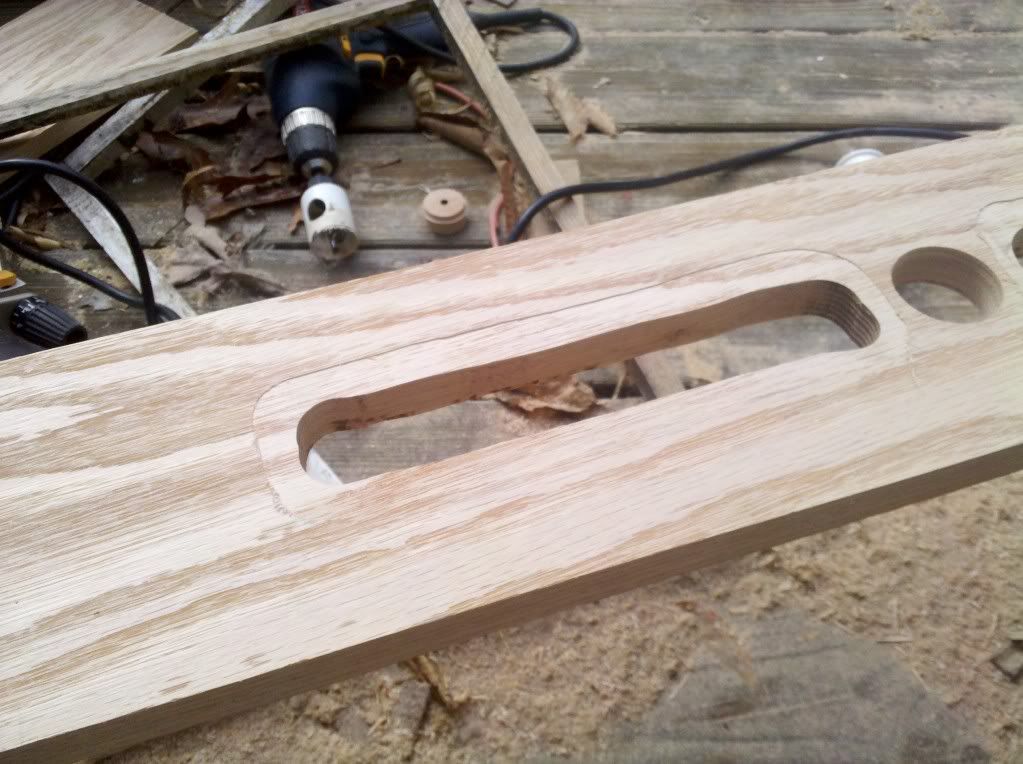
And stapled the screen in place.
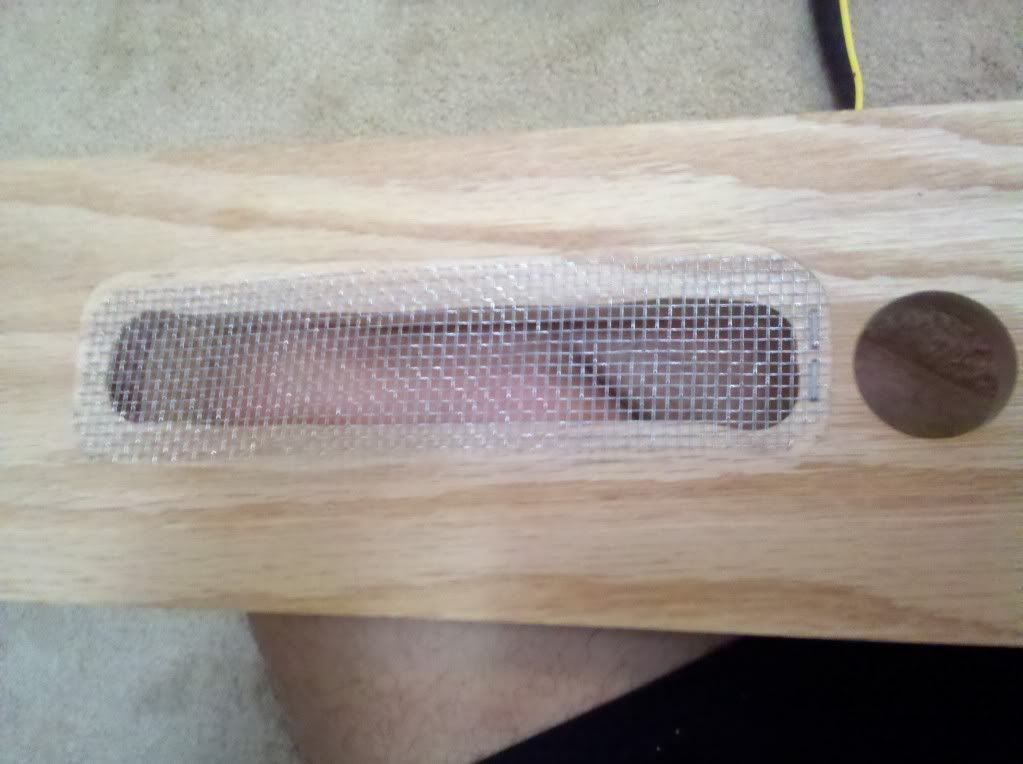
Giving us the end product, a bottom board.
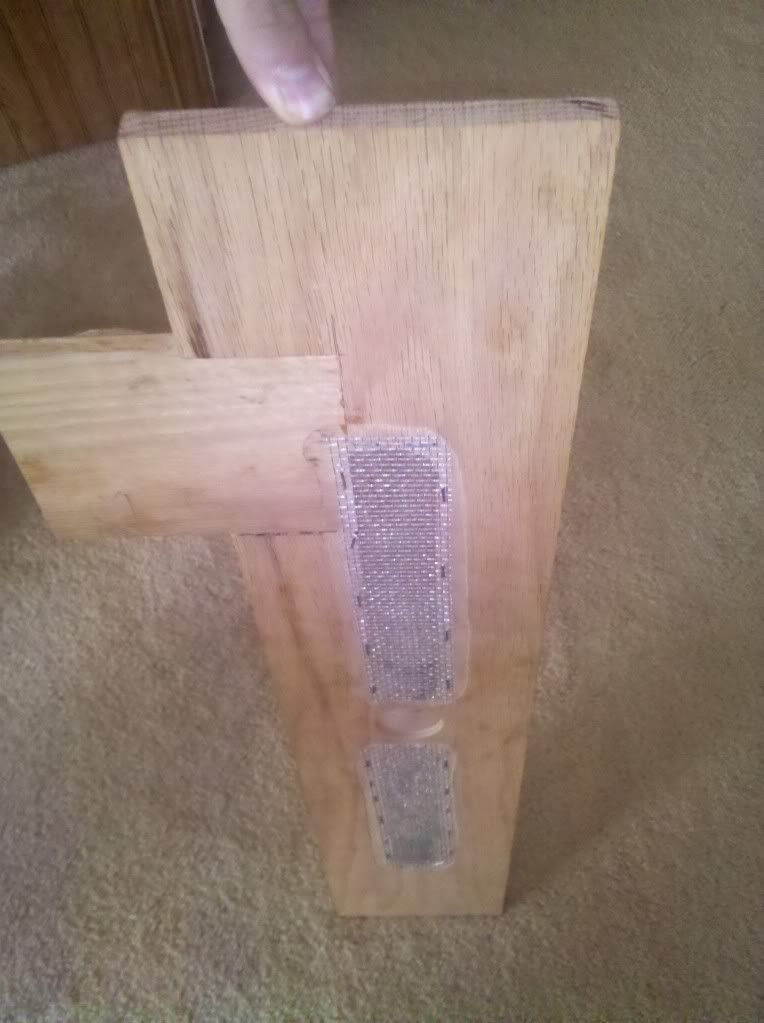
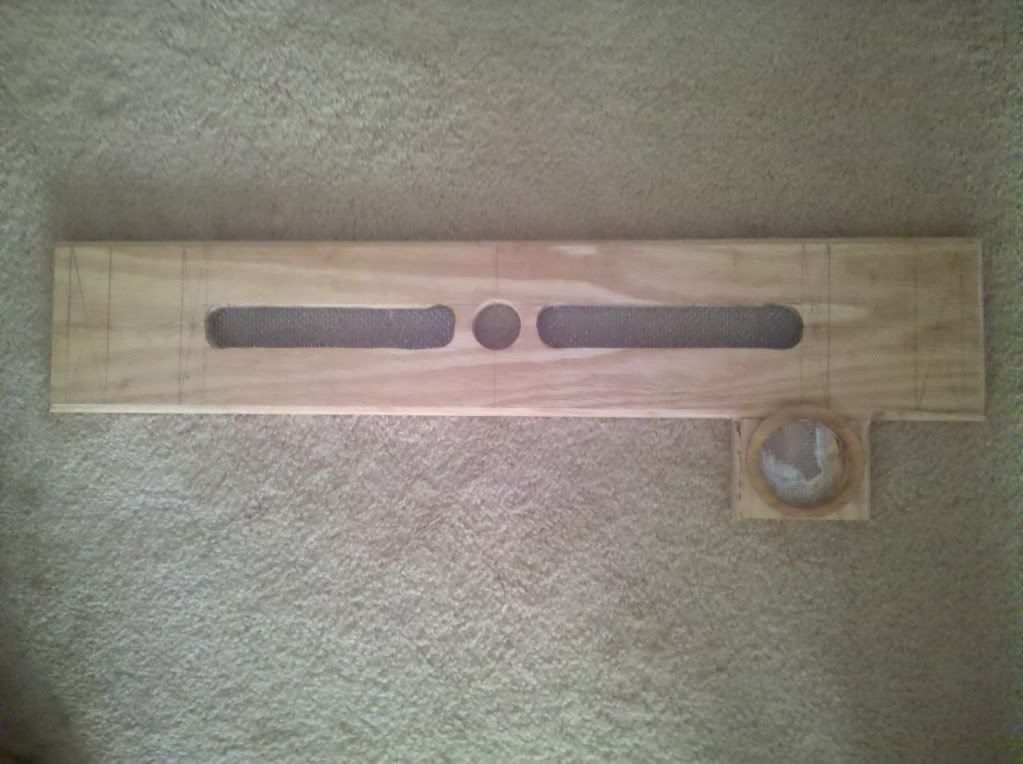
If it wasn't clear as I was building it, the entrance will be the 1.5" hole in the center, and the cuts we made to the left and right of it are the screened bottom boards.
Next up I'll make the drawers for the screens, followed by the shut off gate, the lazy susan base, and finally the top board.
Thanks for stoping by. I know I don't always do things the easiest way, and my methods are usually a little unorthodox, but I have fun and get the job done. Thanks for all the comments and questions, I really appreciate them.